1. Open the NetNut website, newly register users can get 7 days free trial.
2. Sign up on the VMLogin website, newly register users can get 3 days free trial.
3. Download and install the VMLogin client
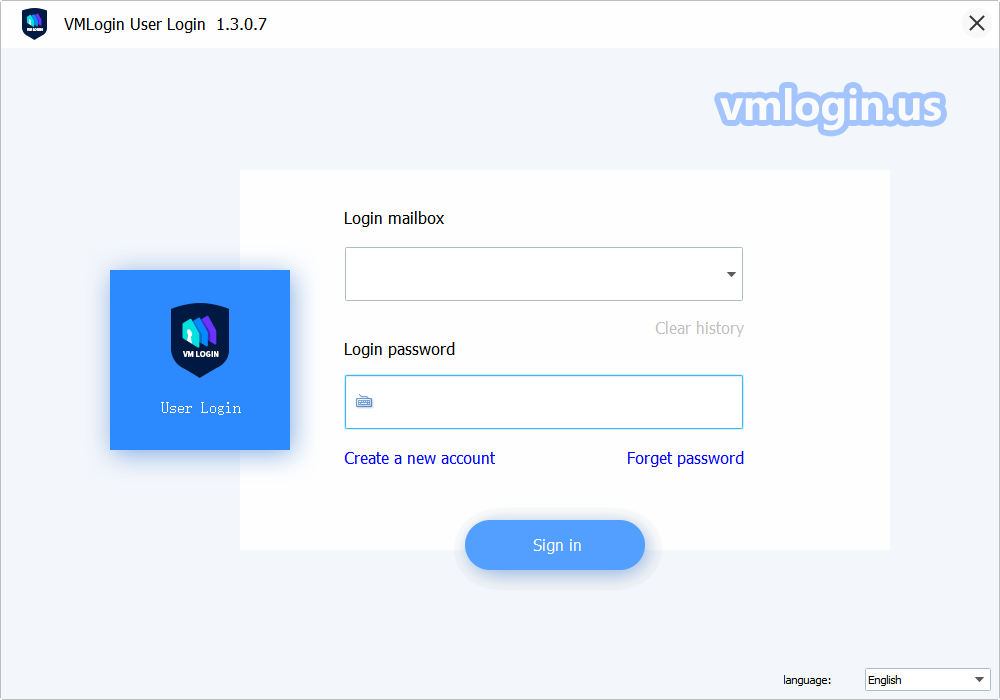
4. Enter your VMLogin register email and password, log in to VMLogin
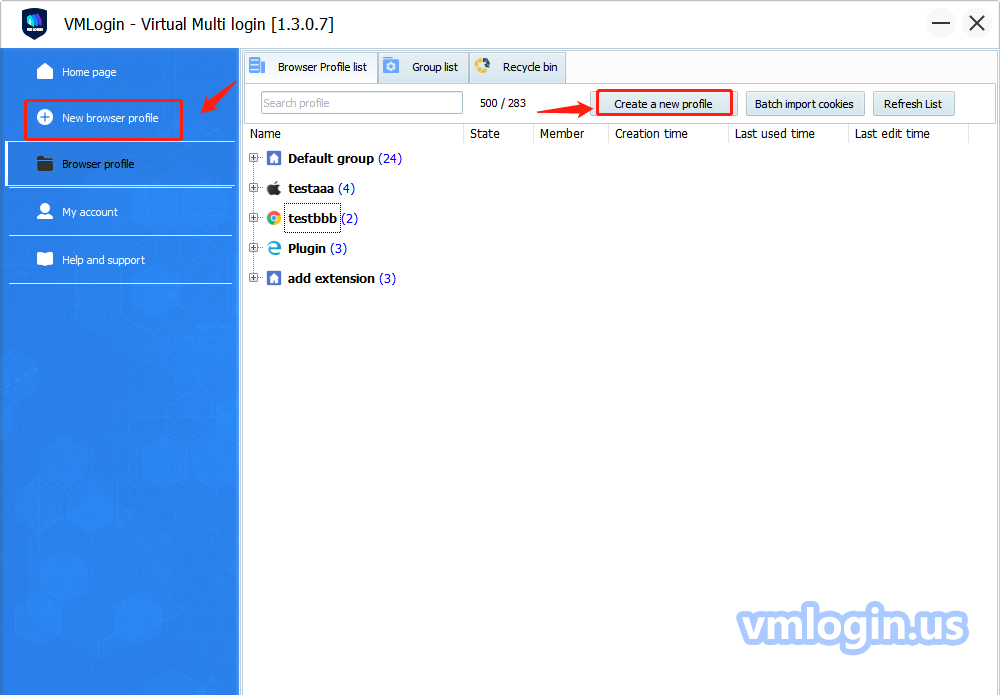
5. Select "New browser profile" or "Create a new profile" to create a new browser profile
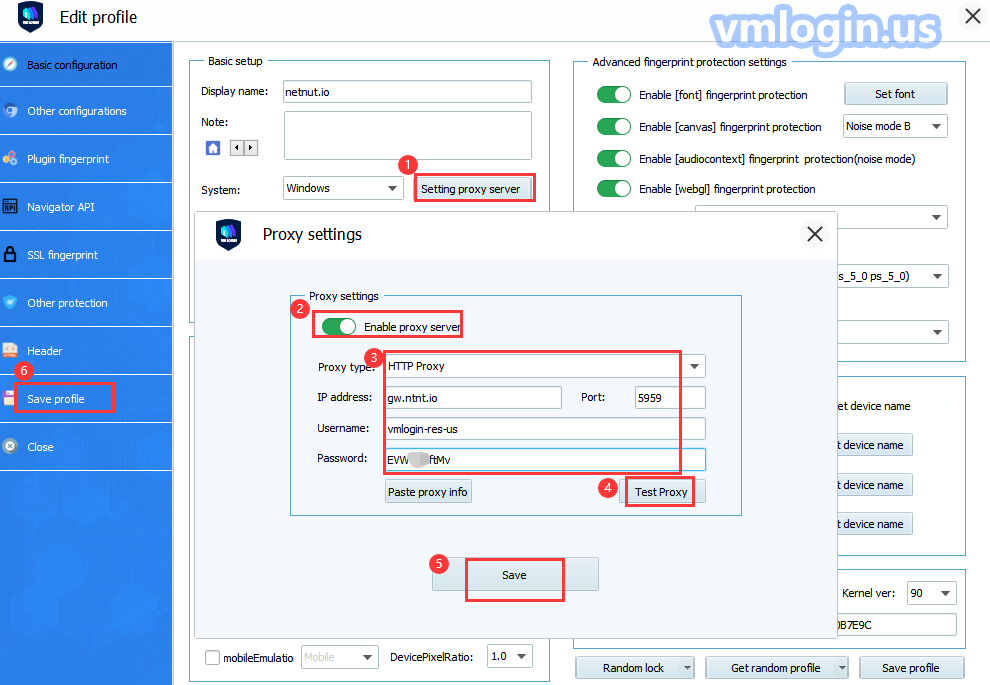
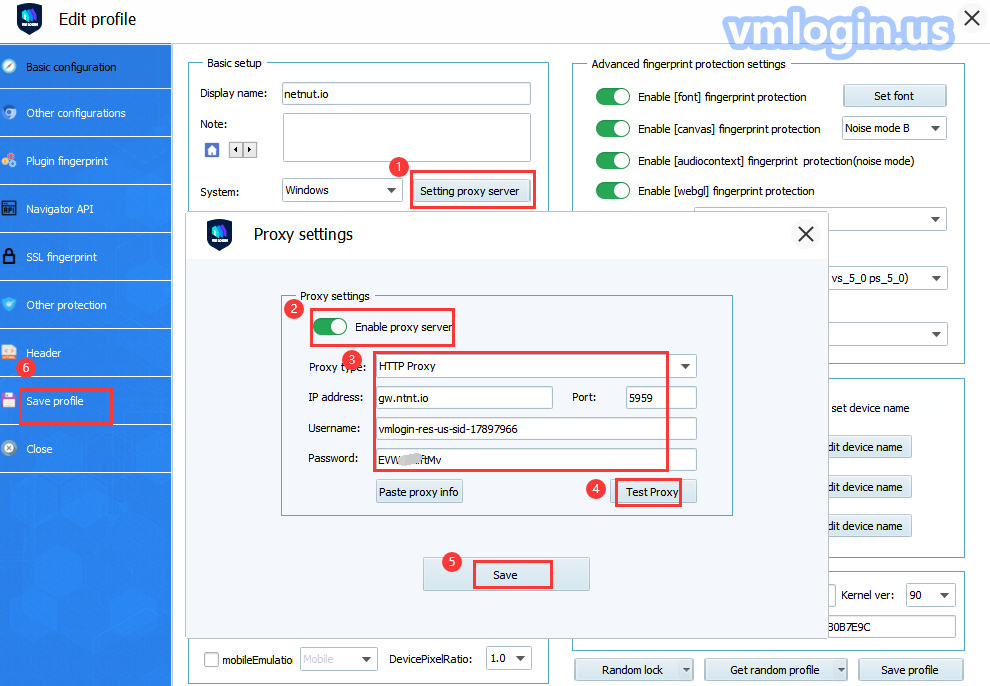
6. Basic configuration-->Setting proxy server-->Enable proxy server. For rotating residential IPs type, fill in the credentials as follows:
Proxy type: HTTP
IP address: gw.ntnt.io
Port: 5959
Username: username-res-any
Password: password
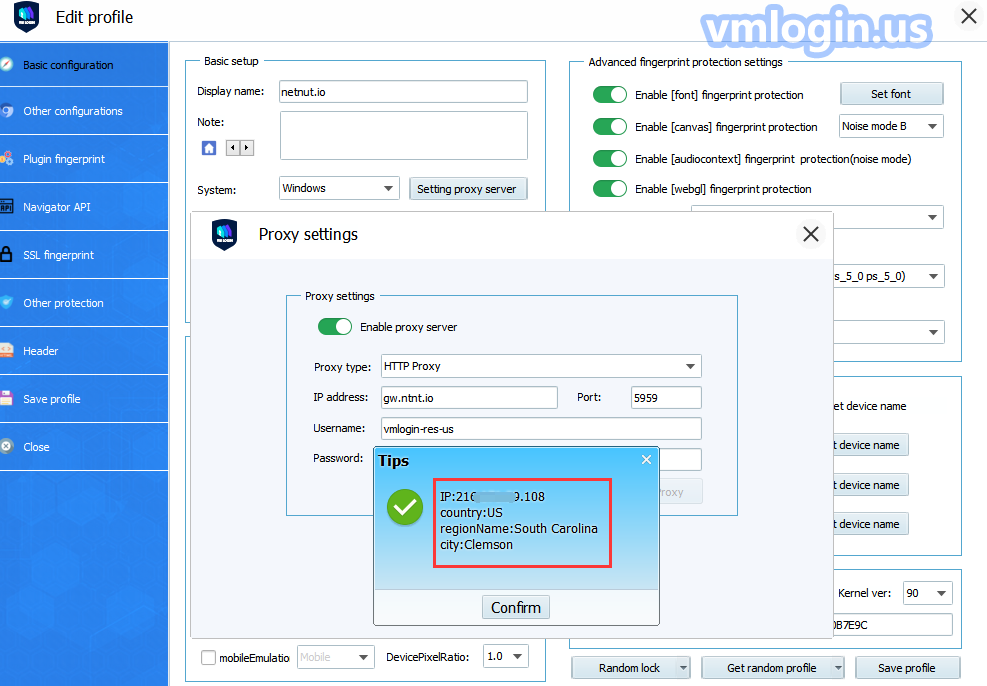
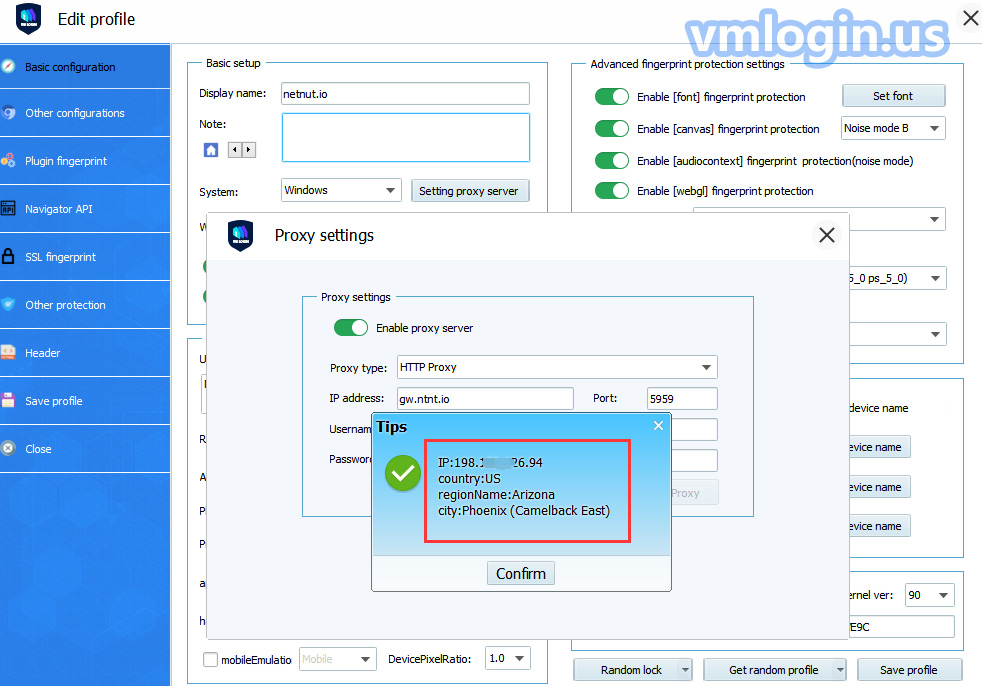
Click on the "Test Proxy" test link and save the settings
Note:
(1)Username should be your proxy login name. For “username-res-any” part, if you don’t need to select a special country, keep “any” unchanged, you don’t have to modify it;
(2)To target specific countries, you need to change the “any” part to the country code, for example: us; You can check other countries’ code here: https://l.netnut.io/countries
(3)Overall setting example: chenak-res-any: password, or: chenak-res-us: password;
For static residential IPs type, fill in the credentials as follows:
Proxy type: HTTP
IP address: gw.ntnt.io
Port: 5959
Username: username-stc-any-sid-8 digits
Password: password
Click on "Test Proxy" test link to check whether this proxy works, and save the settings
Note:
(1) Username should be your proxy login name.
(2) To target specific countries, you need to change the “any” part to the country code, for example: us
(3) The 8 digits can be any number between 1-99999999, you can set it randomly, but please don’t set it as 12345678. For example: chenak-stc-us-sid-36791287