Are you looking to enhance your online security and privacy while browsing the internet? ProxyLink, a renowned provider of residential proxies, has the solution you need. In this guide, we will walk you through the process of setting up ProxyLink in Vmlogin, an anti-detection browser, ensuring a seamless and secure online experience. Say goodbye to prying eyes and access the web like a true ghost.
Introduction to ProxyLink and Vmlogin
Before we dive into the setup process, let’s briefly introduce ProxyLink and Vmlogin to understand their significance.
What is ProxyLink?
ProxyLink is a trusted provider of residential proxies that enable users to browse the internet anonymously. These proxies route your internet traffic through residential IP addresses, making it appear as if your connection is coming from a real home, thereby ensuring online anonymity and security.
What is Vmlogin?
Vmlogin is an anti-detection browser that allows users to avoid detection by websites and services that may track or limit your online activities. It’s an invaluable tool for those who require privacy in their online endeavors.
Why Use ProxyLink in Vmlogin
The synergy between ProxyLink and Vmlogin is powerful. By combining ProxyLink’s residential proxies with Vmlogin’s anti-detection capabilities, you can enjoy the following benefits:
1. Anonymity: You can surf the web without revealing your true identity. ProxyLink’s residential proxies mask your real IP addresses, making you virtually untraceable.
2. Access Anywhere: Gain access to geo-restricted content and websites that might be blocked in your region.
3. Enhanced Security: Enjoy an extra layer of security against cyber threats, as residential proxies add a buffer between you and potential attackers.
4. Improved Performance: ProxyLink’s high-quality residential proxies provide fast and reliable connections, ensuring smooth online experiences.
Setting Up ProxyLink in Vmlogin
Let’s get down to business and set up ProxyLink in Vmlogin. Follow these steps to ensure a seamless integration.
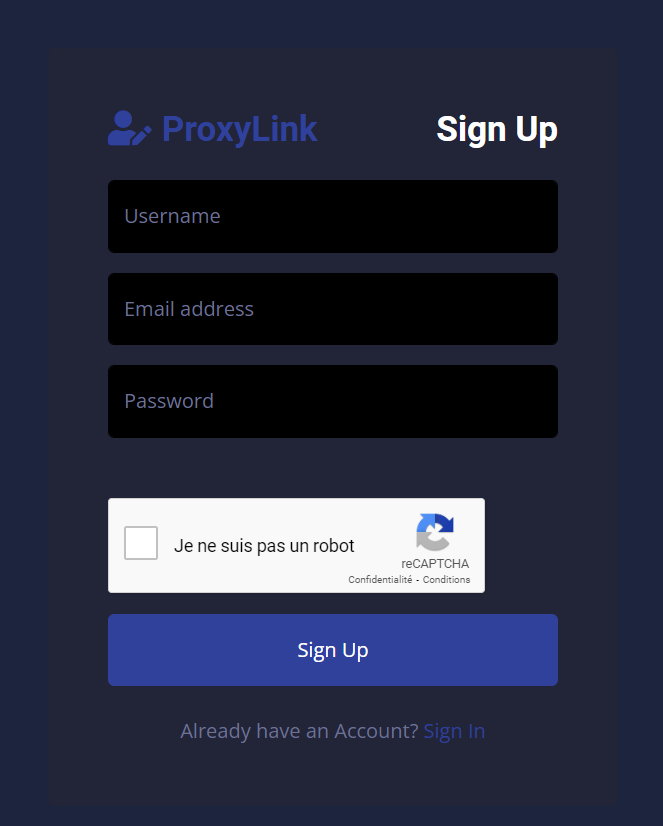
Step 1: Sign Up for ProxyLink
If you haven’t already, visit the ProxyLink website and sign up for an account. You’ll need a subscription to access their residential proxies.
Step 2: Generate Your Proxies
Once you’ve registered and logged in, select the residential proxies that suit your needs, whether you prefer static residential proxies or rotating residential proxies. ProxyLink offers a range of options to accommodate various requirements.
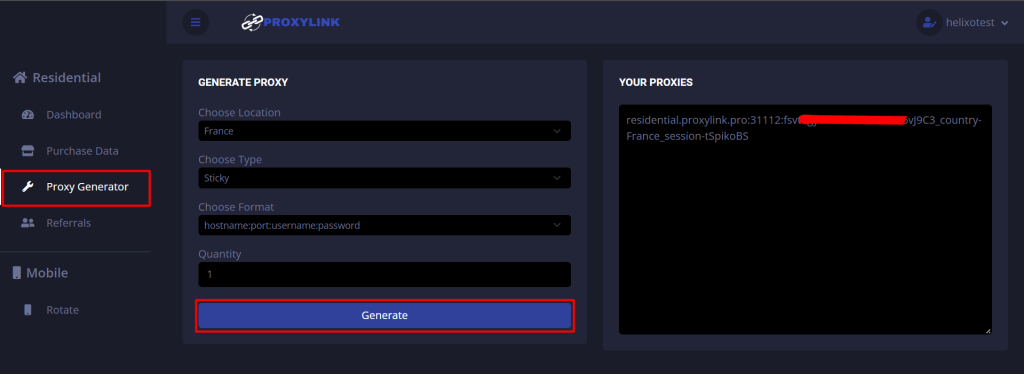
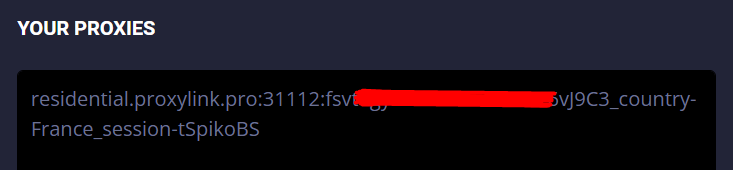
Step 3: Obtain Proxy Credentials
After choosing your proxies, you’ll receive your proxy credentials. Take note of these as you’ll need them in the next steps.
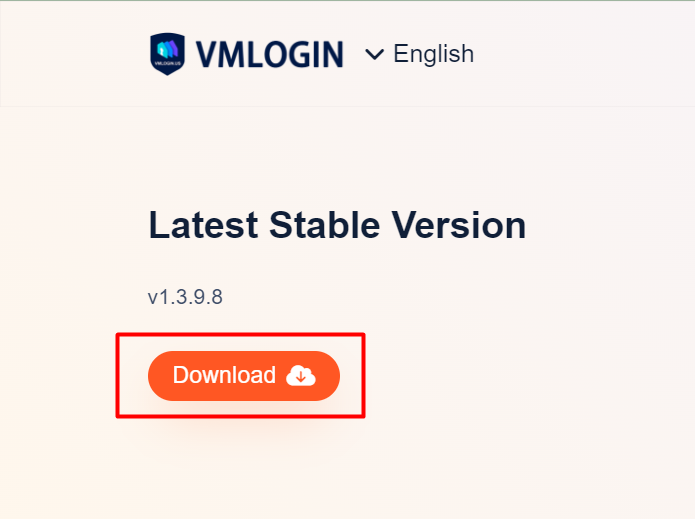
Step 4: Download Vmlogin
If you don’t have Vmlogin installed, download and install it from their official website.
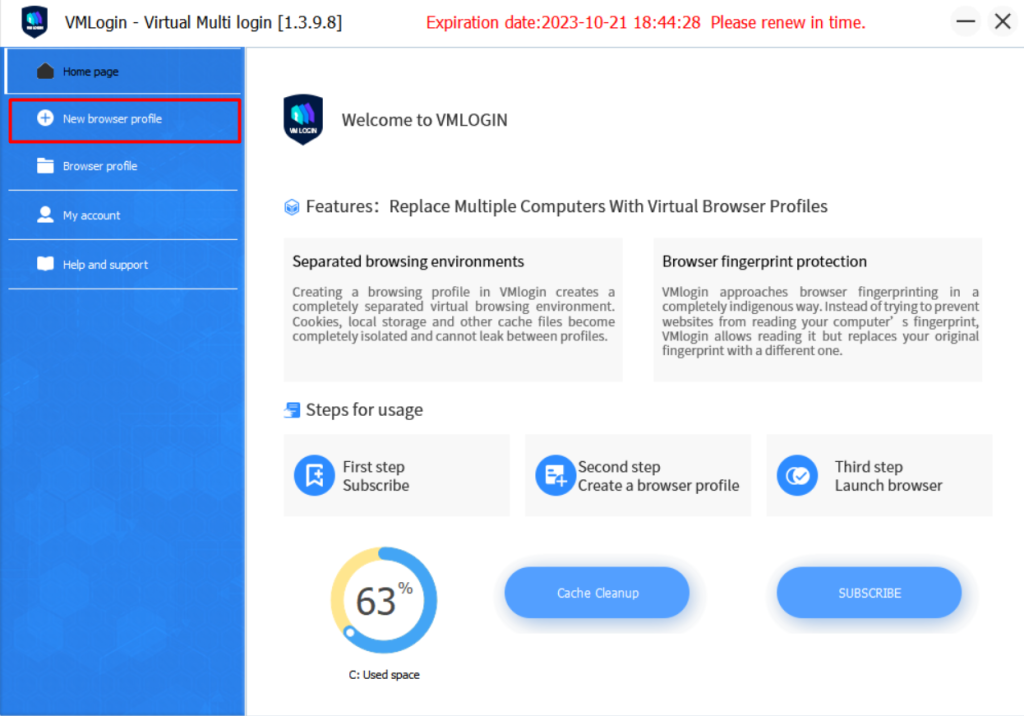
Step 5: Configure Vmlogin
1. Open Vmlogin, and click on “New browser profile”.
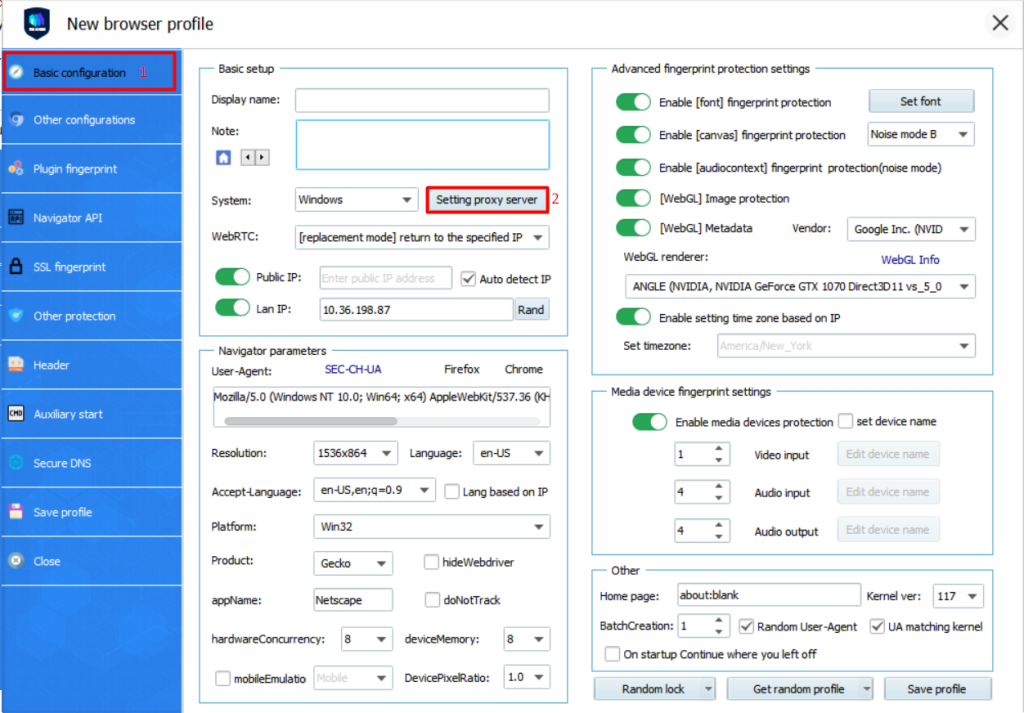
2. Afterward, click on “Basic configuration”, and then “Setting proxy server.”
Step 6: Enter Proxy Credentials
1. Enable the proxy server and configure the proxy settings to “HTTP”. Then, click on “Paste proxy info” with the proxy copied to your clipboard. (ProxyLink’s residential proxies are in HTTP).
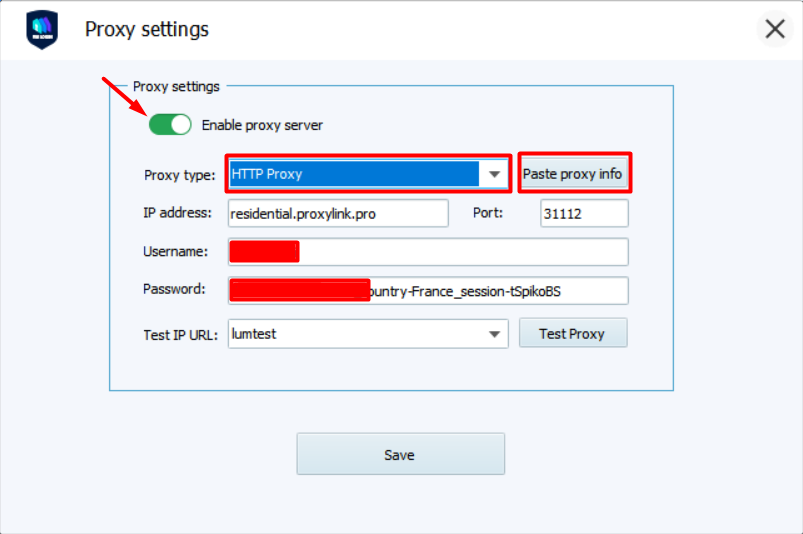
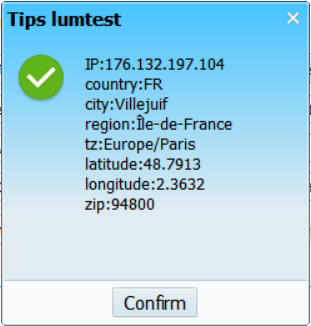
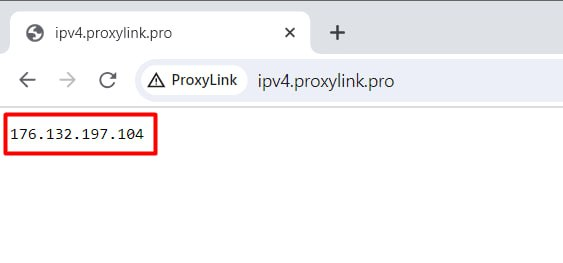
2. Click on “Test proxy” to verify that it’s functioning correctly.
Step 7: Save Settings
After entering the proxy credentials, save the settings, and you’re good to go. Vmlogin is now configured to use ProxyLink’s residential proxies.

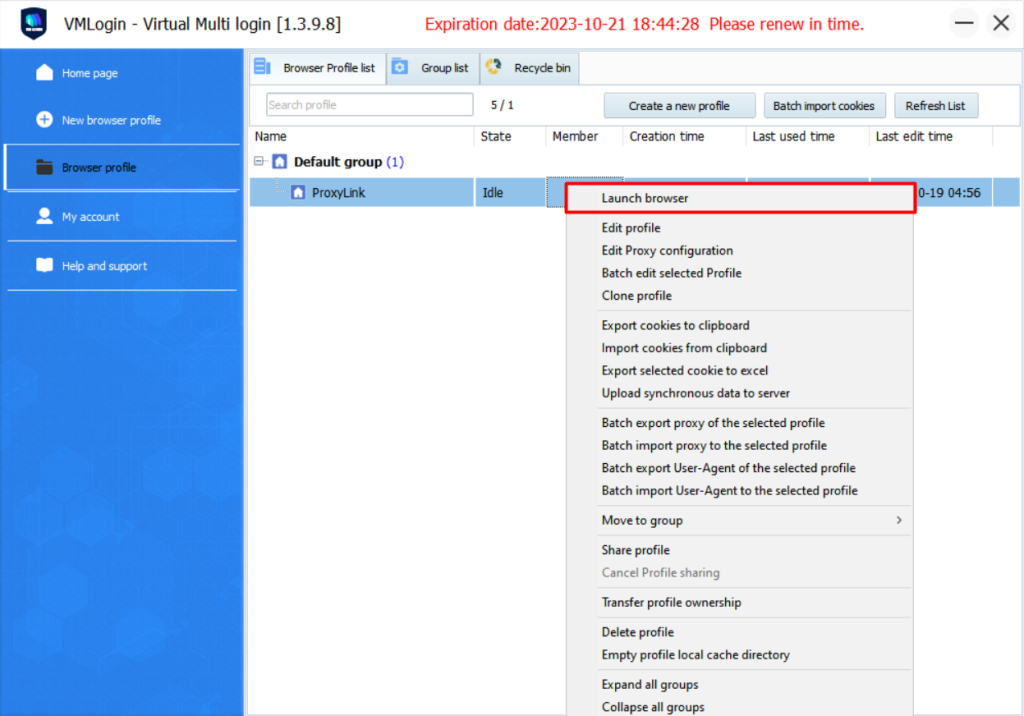
Step 8: Launch Browser
good jobs 😉
Conclusion
Setting up ProxyLink in Vmlogin is a simple yet effective way to enhance your online security and privacy. With this powerful combination, you can browse the web with confidence, knowing that your data is protected, and your identity remains hidden from prying eyes.
So, why wait? Get started today and experience the internet like never before!