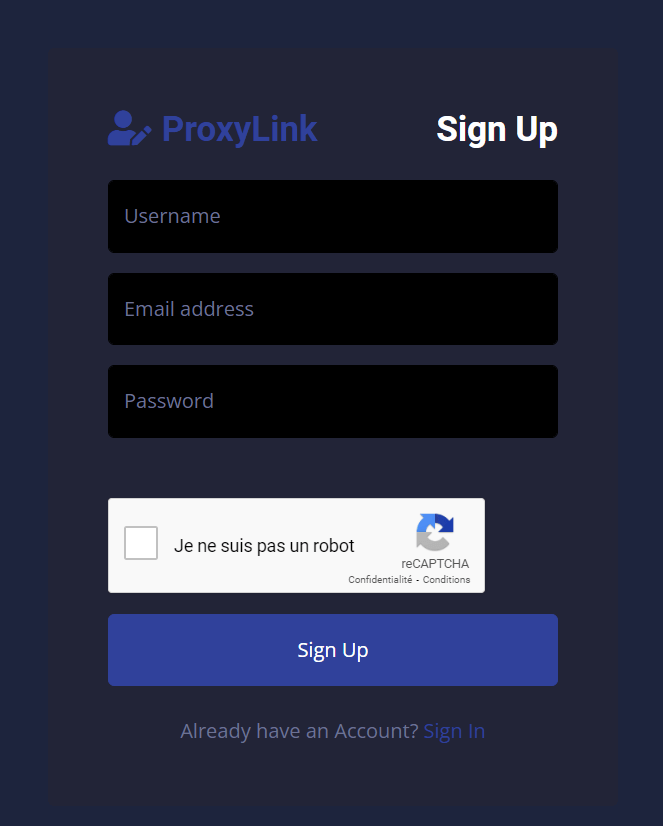
Step 1: Get ProxyLink
Visit the ProxyLink. Register and log in to your ProxyLink account.
Step 2: Generate Your Proxies
After registering and logging into your account, choose the residential proxies that suit your needs. You can choose either static or rotating.
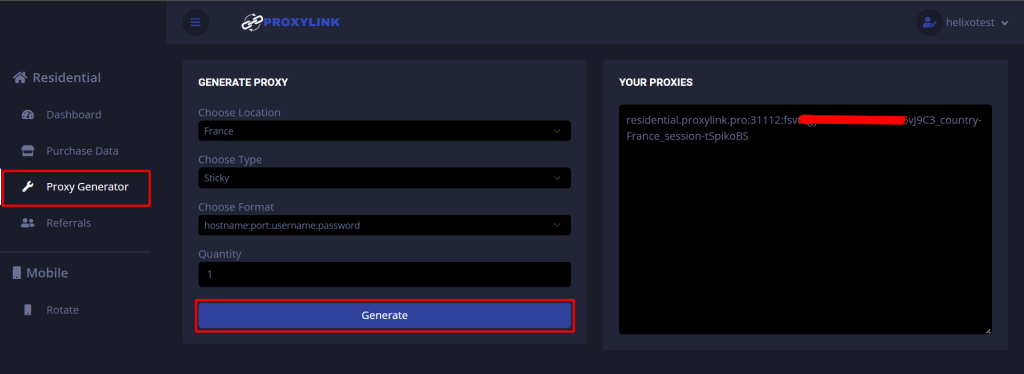
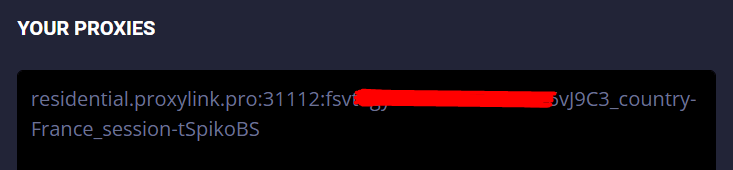
Step 3: Get Proxy Credentials
When the proxies selection is complete, you will receive your proxy credential. Please take note of this proxy credentials, you will need to use it later.
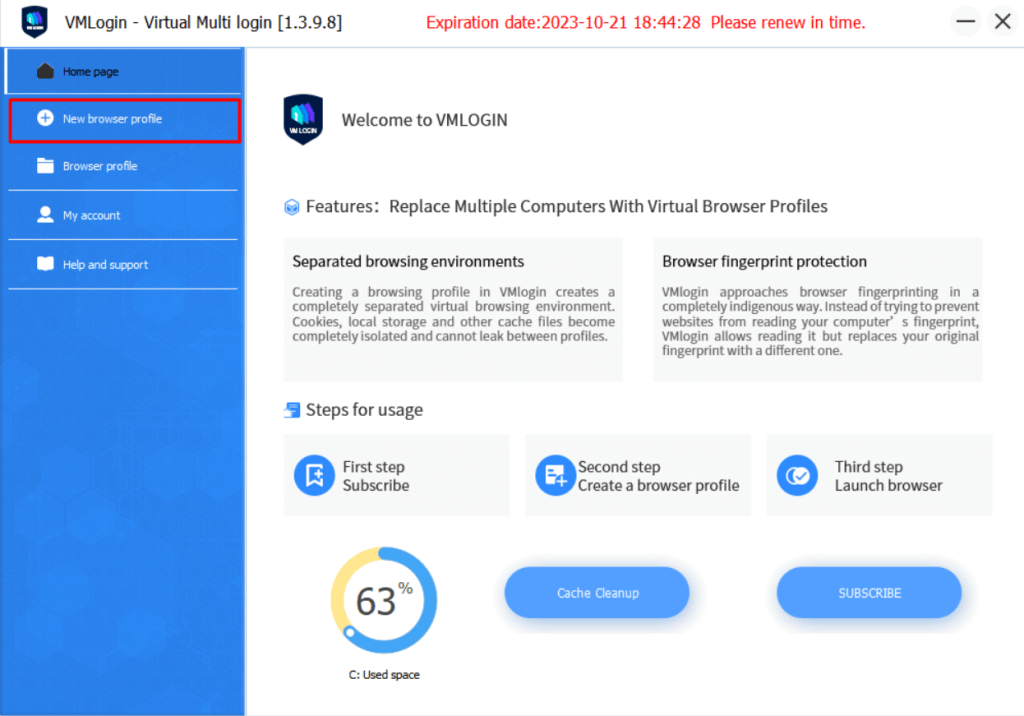
Step 4: VMLogin Browser Settings
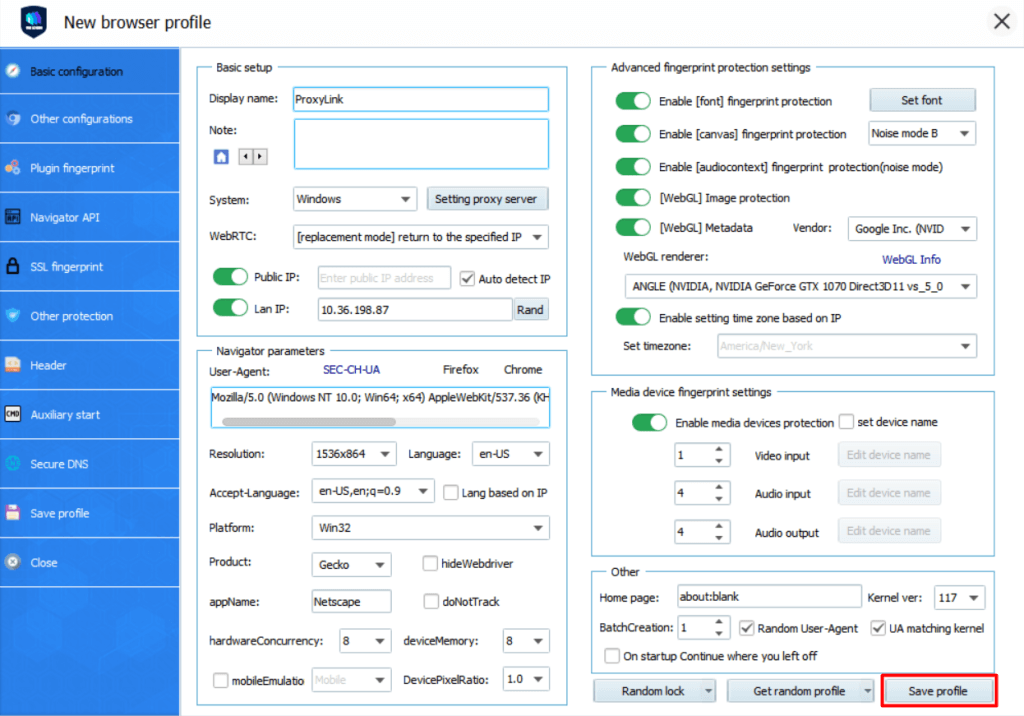
1. Open the VMLogin client, then click "New browser profile" or "Create a new profile".
2. Click "Basic configuration" and then "Setting proxy server".

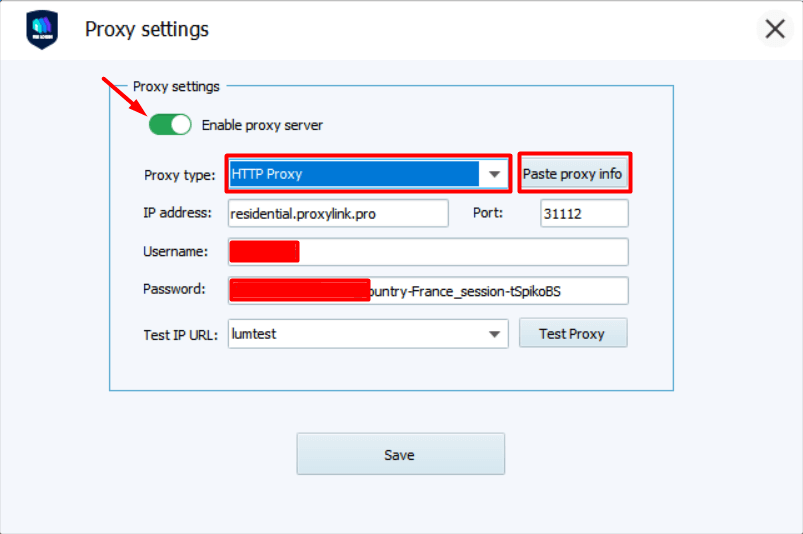
3. Fill in Proxy Credentials
Enable proxy server and select the proxy type "HTTP". Then, click "Paste proxy info" with the proxy copied to your clipboard. (ProxyLink's residential proxies are in HTTP).
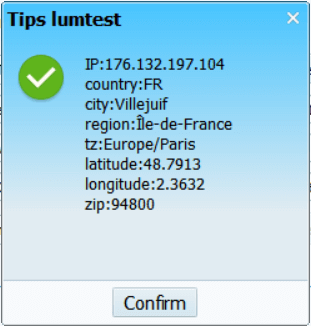
4. Once the proxy settings are done, click "Test Proxy" to verify that the function works. If the test is successful, the IP address, country region, and other information will be displayed. Then click "Confirm".
5. Save the profile.
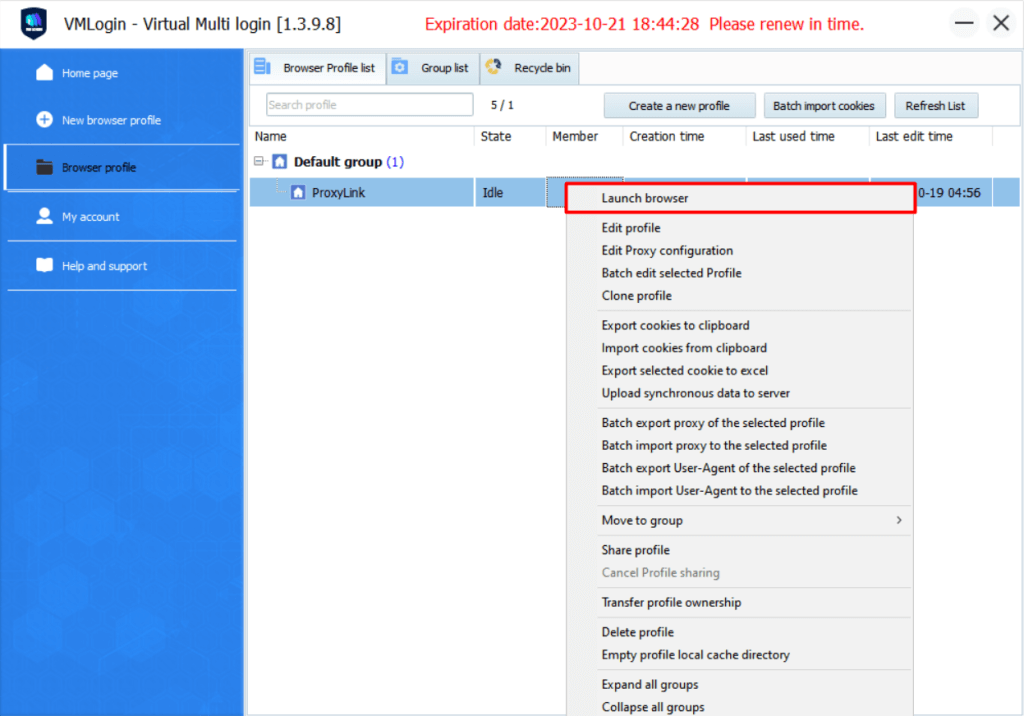
6. Launch the browser.
Note:
VMLogin browser software itself has no proxy IP service, users need to purchase proxy IP from a third party. Proxy-related tutorials are provided by third-party platforms and are not related to the VMLogin. Users are strictly prohibited from using VMLogin to engage in any illegal and criminal activities, and users are responsible for the relevant responsibilities caused by using VMLogin.