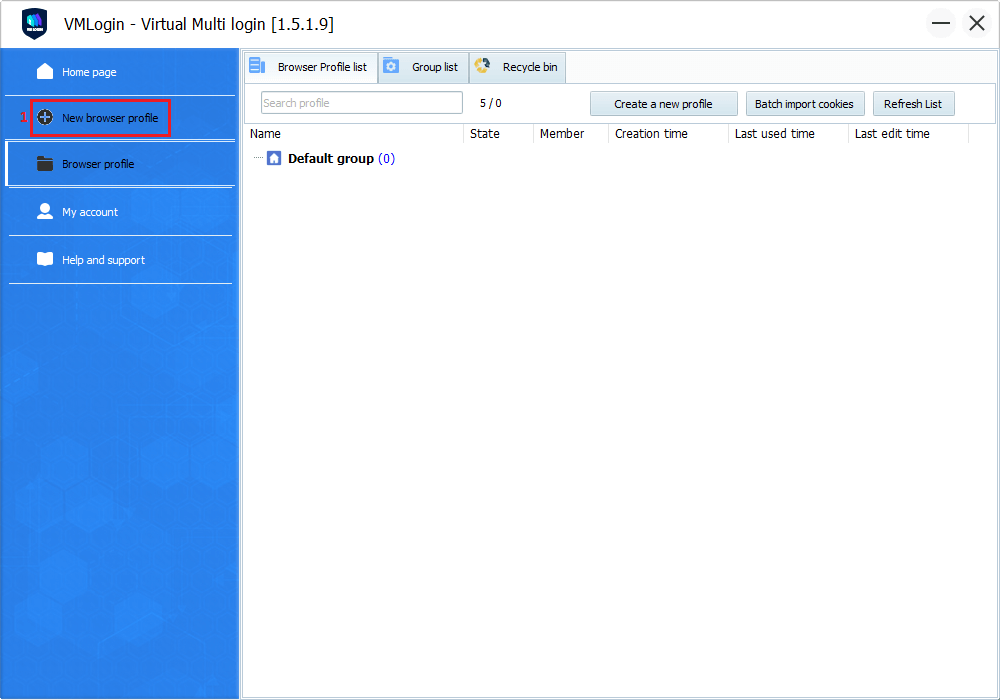
1. To start, get the latest version of VMLogin from the website and install it. Once you launch it, click the New browser profile (1) button in the quick menu ( Support 3-day free trial ).
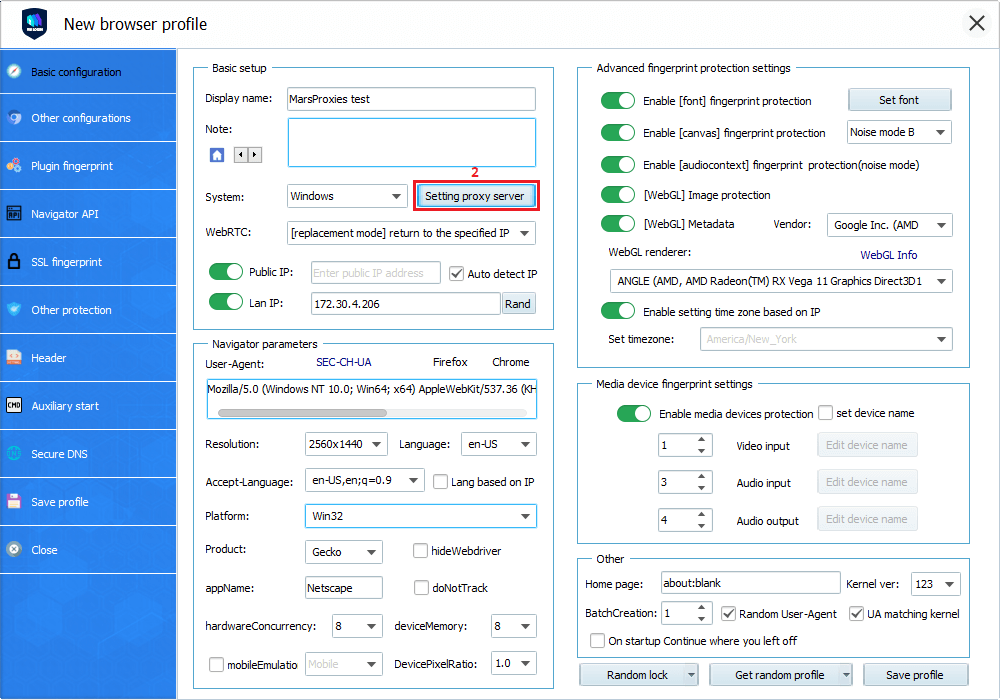
2. Configure your profile appropriately in the New browser profile window. To add proxies, click the Setting proxy server (2) button.
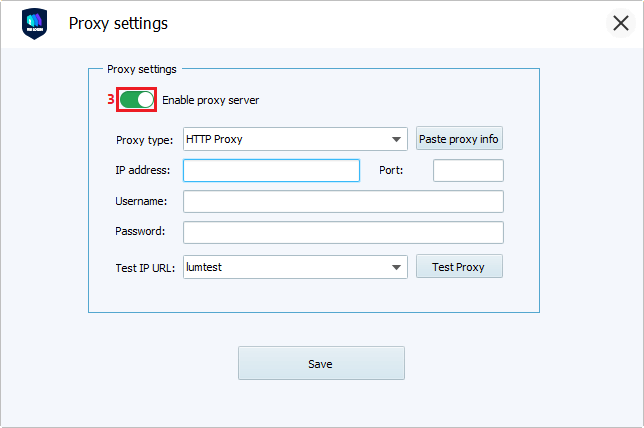
3. The Proxy settings window will open. Toggle the button (3) to enable proxies.
4. Now it’s time to get your proxy credentials from the MarsProxies dashboard. We’ll use residential proxies from Helsinki, Finland (4), with sticky rotation (5), SOCKS5 protocol (6), and a session duration of 8 hours (7).
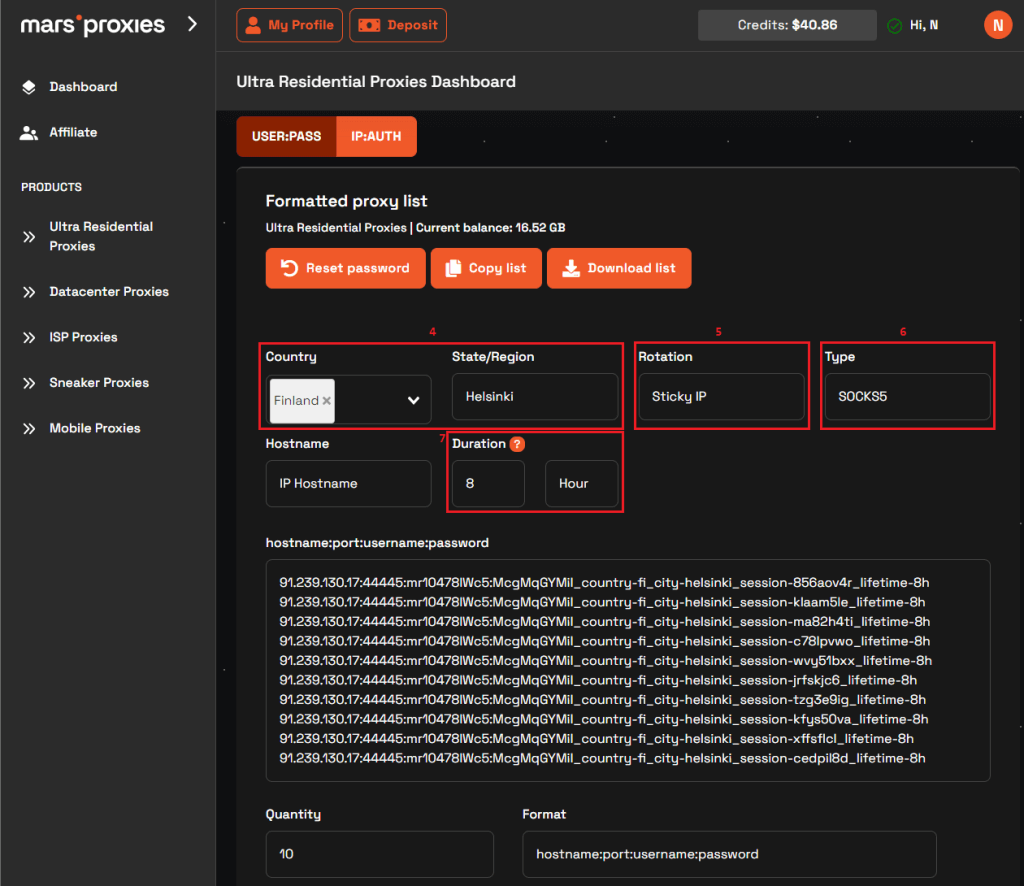
5. Select any set of credentials (8) from the generated list and copy it to your clipboard (Ctrl+C).

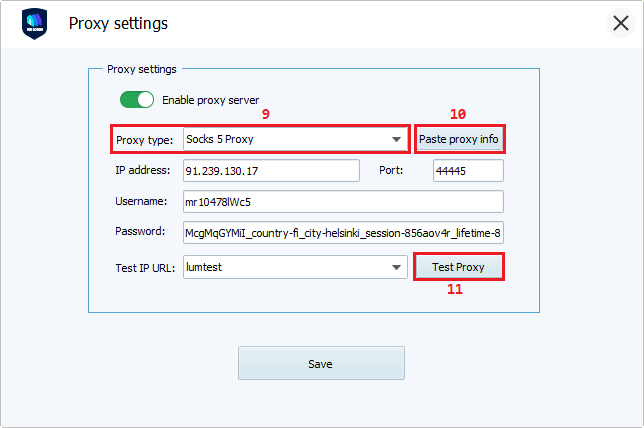
6. Go back to VMLogin’s Proxy settings window and set the appropriate Proxy type (9). Click the Paste proxy info button (10). VMLogin will automatically fill in all the necessary fields (IP address, port, username, and password). Click the Test Proxy button (11).
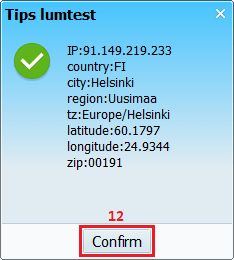
7. A smaller window will pop up with additional information about your proxy server. Click the Confirm button (12) to close it.
8. If everything seems to be in order, click the Save button (13) to save your proxy configuration. If you can’t get the test to complete successfully, check if your proxy type is correct.

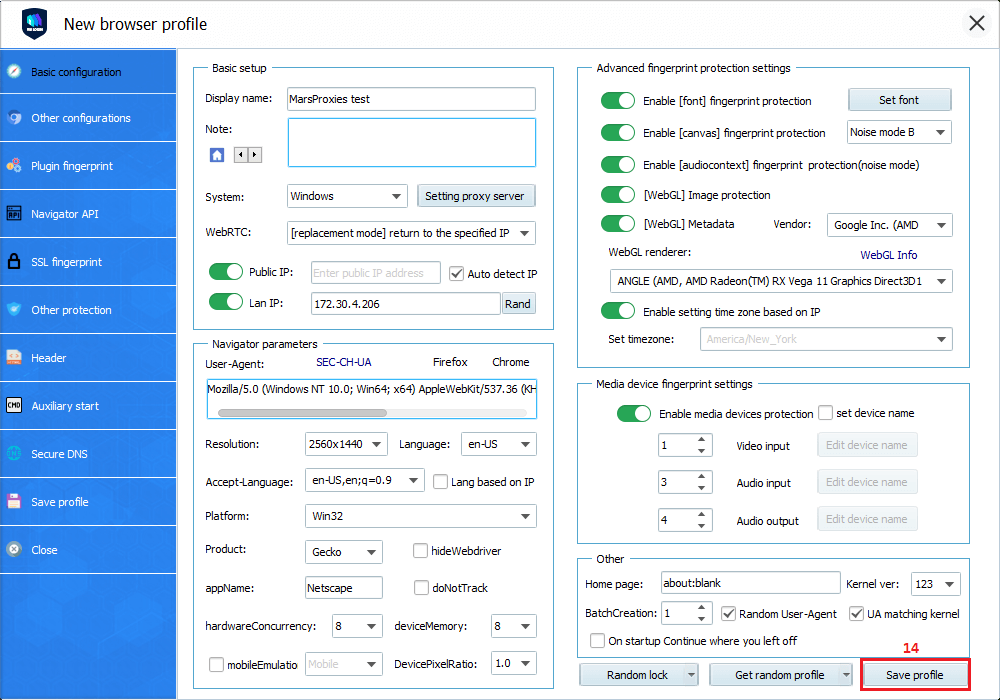
9. Finish up your profile configuration and click the Save profile button (14) once you’re done.
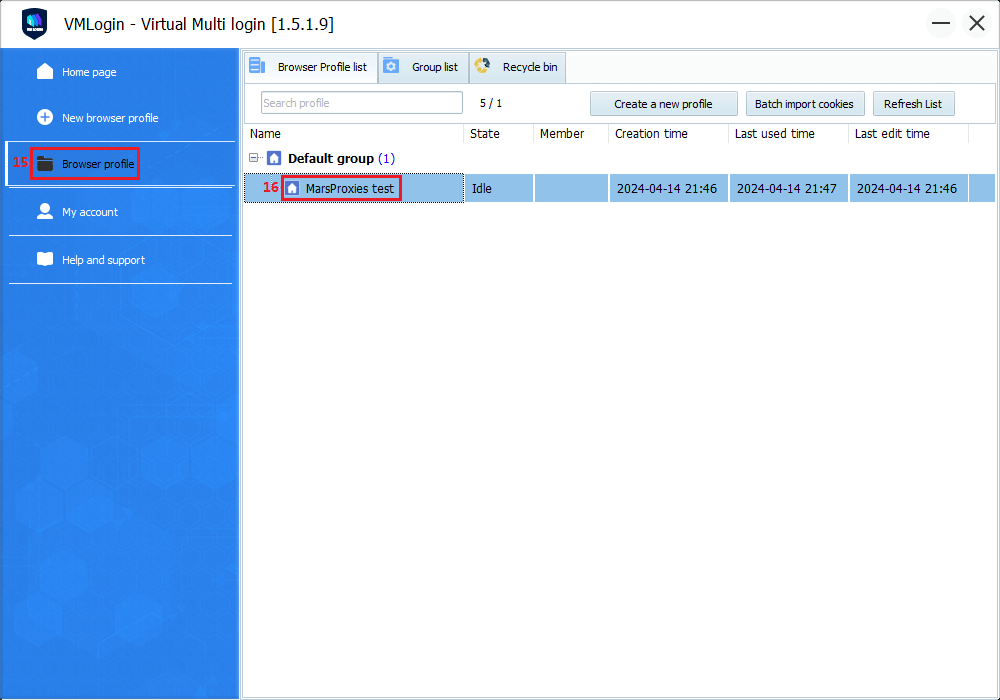
10. Find your new profile in the Browser profile section (15) and double-click on it (16) to launch the browser.
Note: VMLogin software itself has no proxy IP service, users need to purchase proxy IP from a third party. Proxy-related tutorials are provided by third-party platforms and unrelated to the VMLogin. Users are strictly prohibited from using VMLogin to engage in any illegal and criminal activities, and users are responsible for the relevant responsibilities caused by using VMLogin.