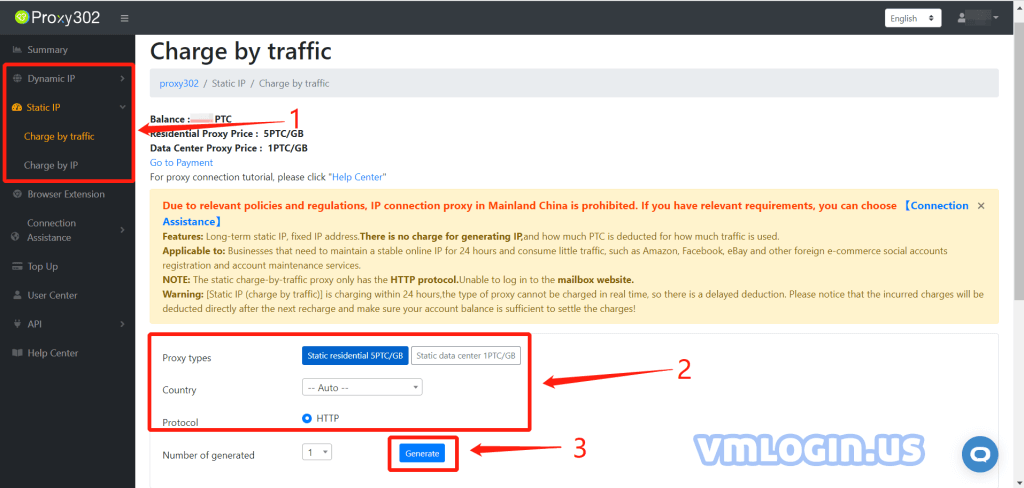
1. Open and log in to Proxy302 official website, choose proxy types, country, protocol(HTTP/SOCKS5), click “Generate”.
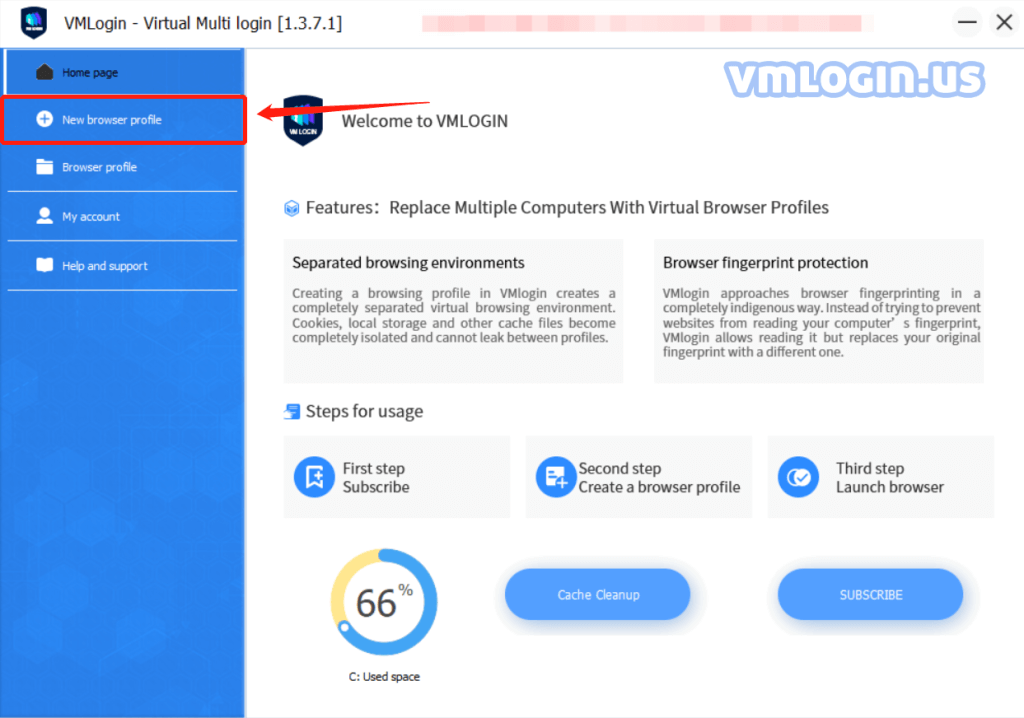
2. Download and install VMLogin. Start by launching VMLogin and creating a new browser profile.
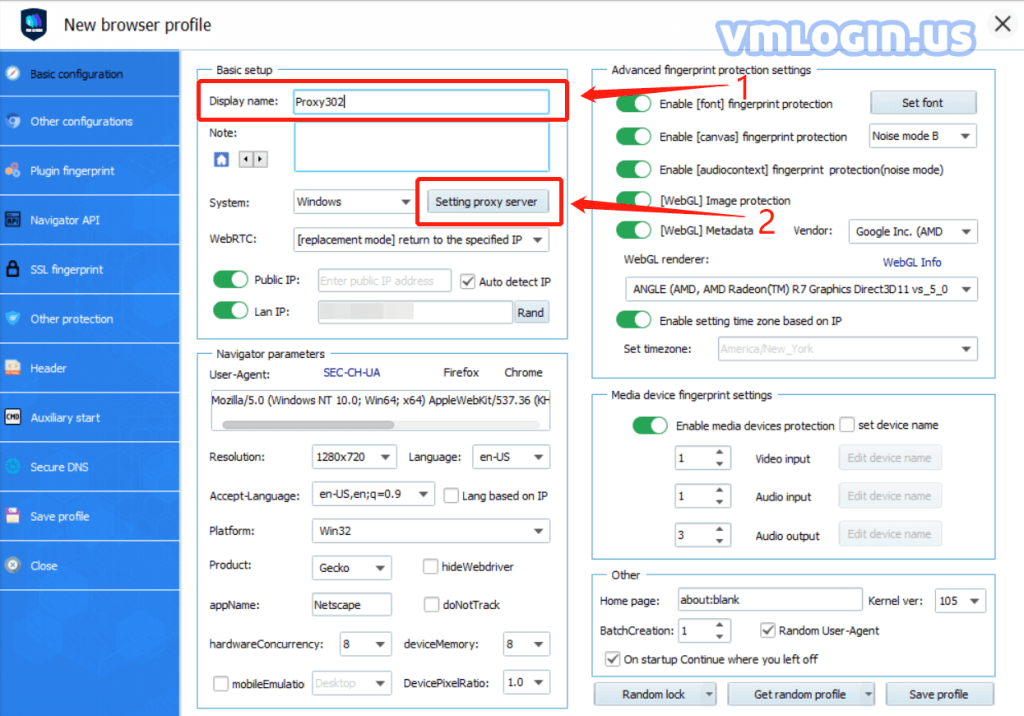
3. Fill in the Display name to distinguish between accounts and click "Setting proxy server".
4. Turn on the "Enable proxy server" button and choose proxy type.(HTTP Proxy/Socks 5 Proxy)
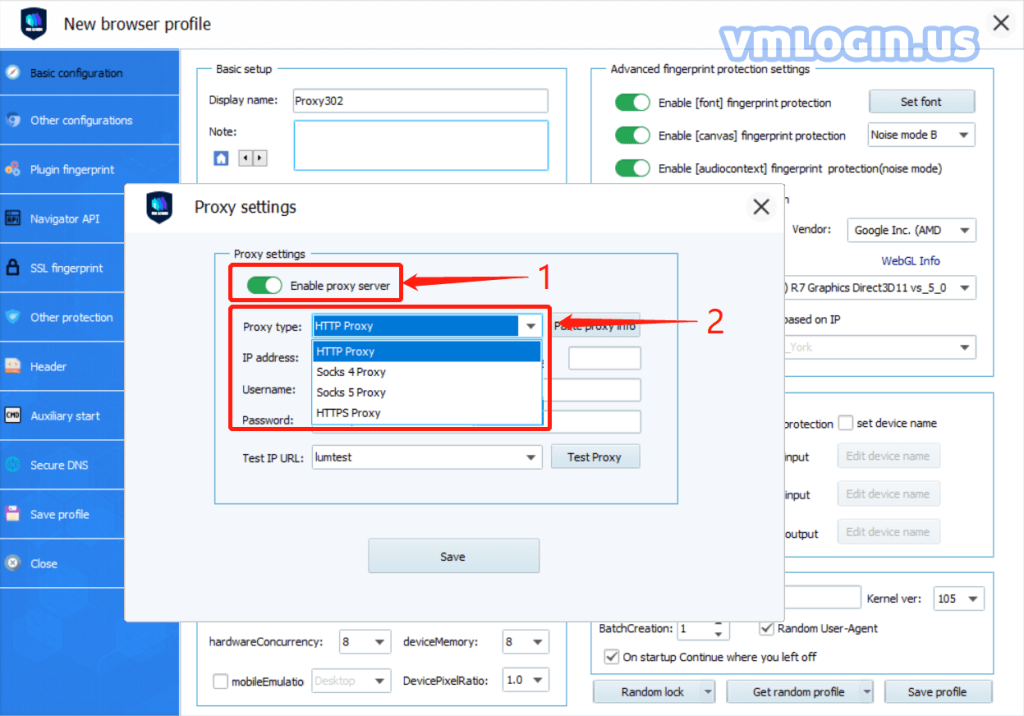
5. Copy the proxy information of Proxy302 and click "Paste proxy info" in the VMLogin.
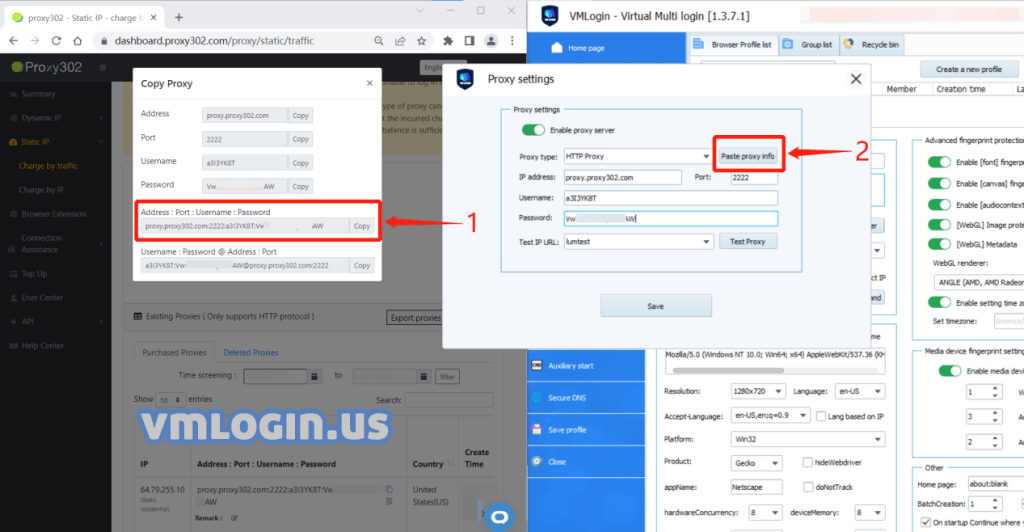
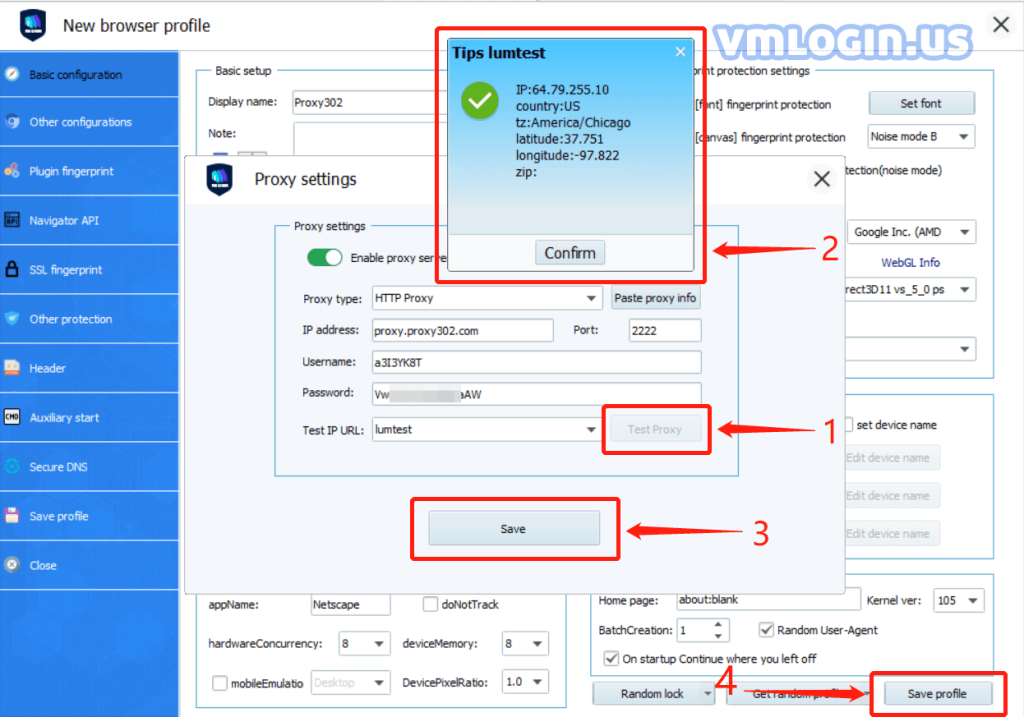
6. Click "Test Proxy", after passing the test, click Save -> Save profile.
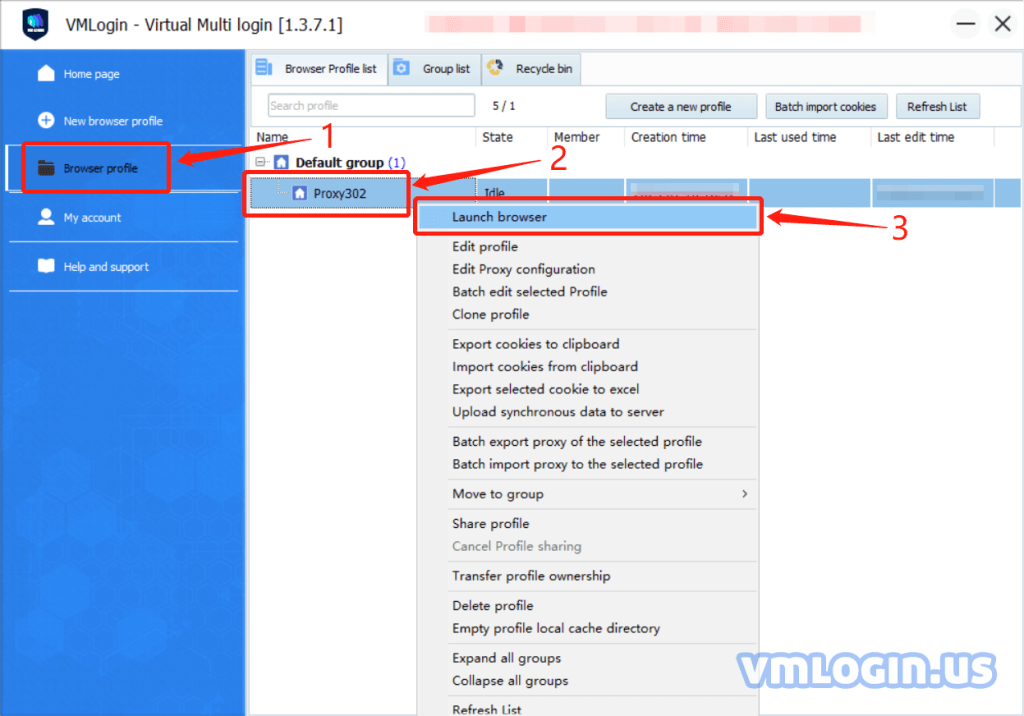
7. Choose Browser profile -> Profile account, click "Launch browser", wait for the browser to start successfully.
VMLogin browser software itself has no proxy IP service, users need to purchase proxy IP from a third party. Proxy-related tutorials are provided by third-party platforms and are not related to the VMLogin. Users are strictly prohibited from using VMLogin to engage in any illegal and criminal activities, and users are responsible for the relevant responsibilities caused by using VMLogin.