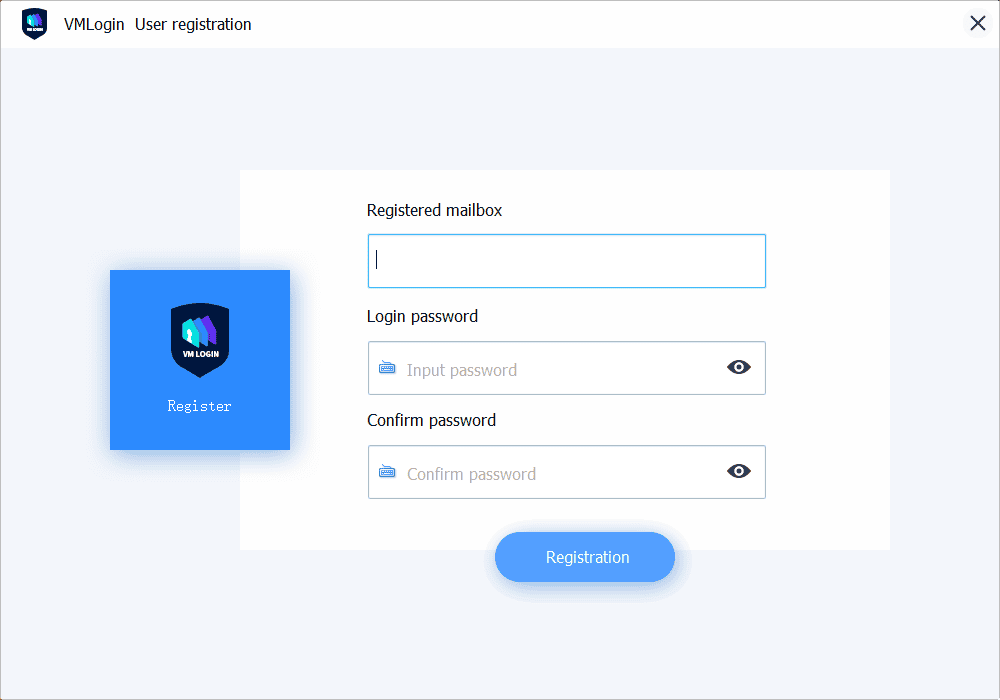
1. First, download and install the VMLogin software from the VMLogin official website. Then launch the software and start creating a VMLogin account.
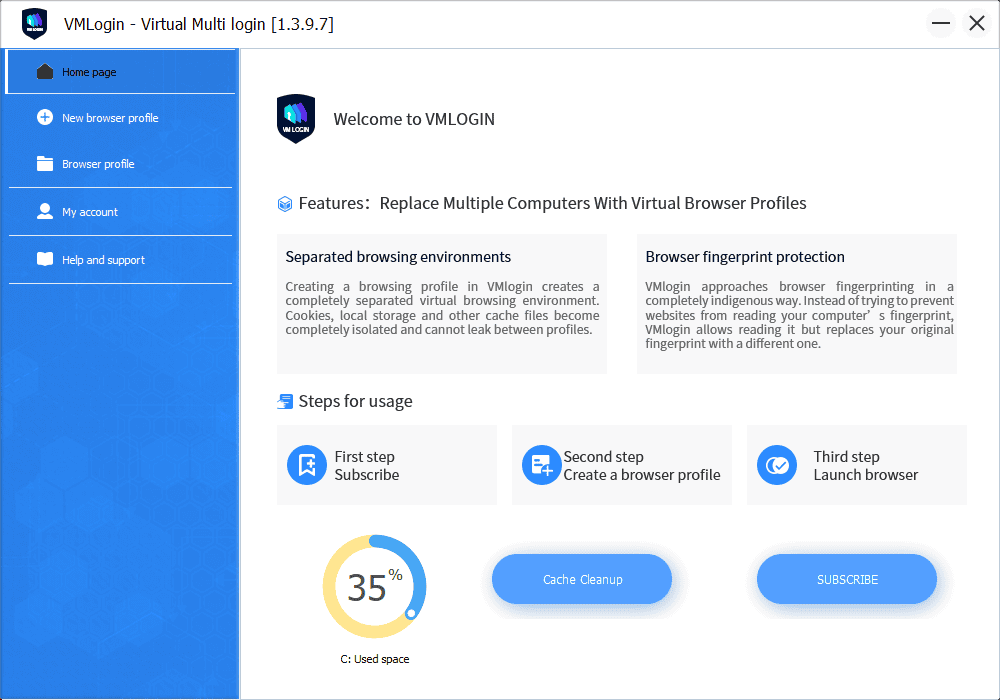
2. Purchase the required package on the VMLogin official website or contact customer service to activate the 3-day free trial. Then, open the VMLogin software. Click the “New browser profile” or “Create a new profile”.
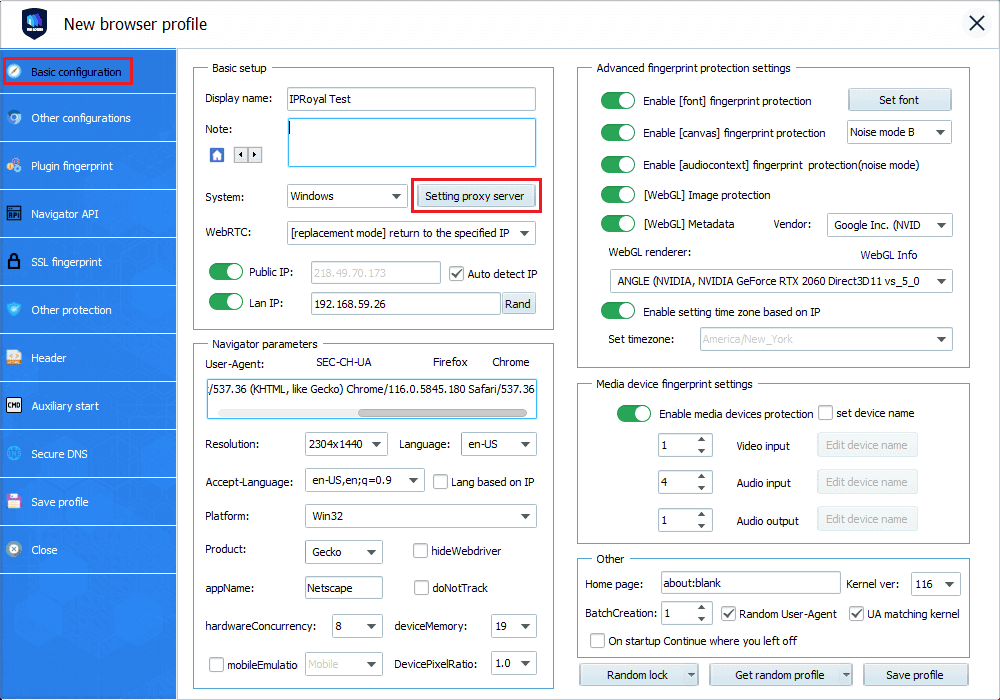
3. Here you can customize the browser fingerprints and set the proxy server.
4. Before you do that, it’s necessary to configure your proxies in the IPRoyal dashboard. Let’s say we want to use high-end IPs from Amsterdam, Netherlands, that rotate on each request and use the HTTP protocol.
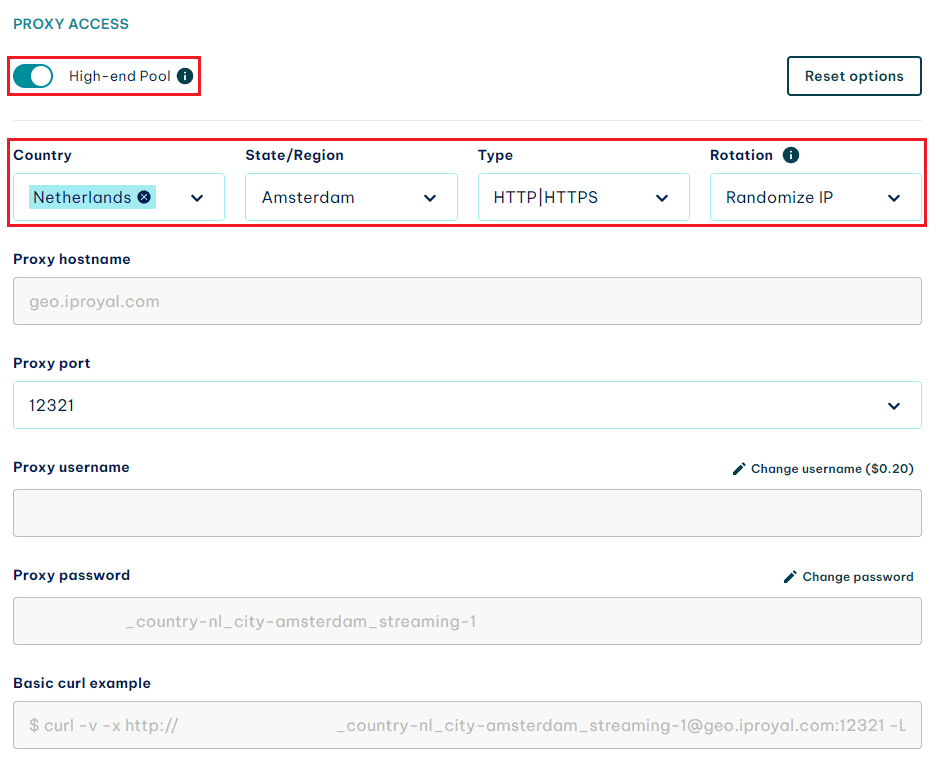
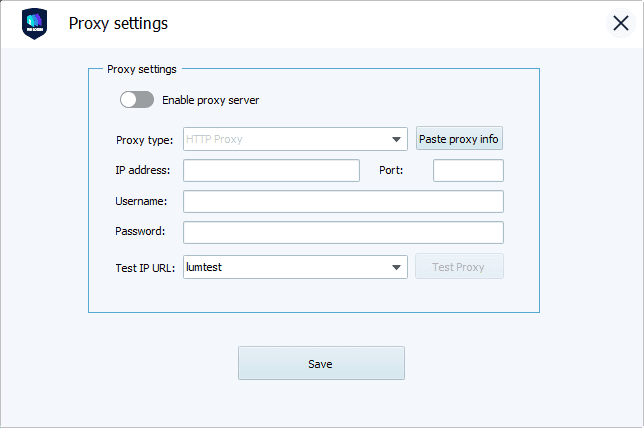
5. Once you’ve configured your proxies, copy the credentials from the IPRoyal dashboard to VMLogin as follows:
| IPRoyal | VMLogin |
|---|---|
| Proxy hostname | IP address |
| Proxy port | Port |
| Proxy username | Username |
| Proxy password | Password |
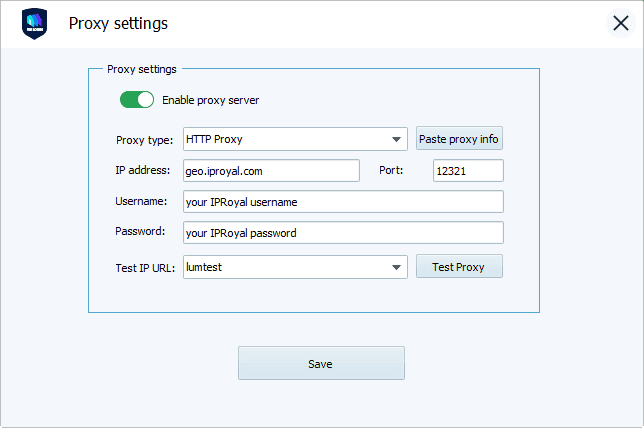
6. Please ensure that you turn on “Enable proxy server” and select the correct proxy type.
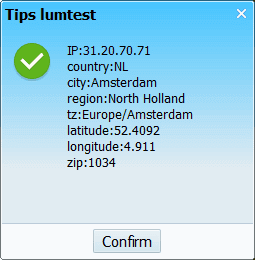
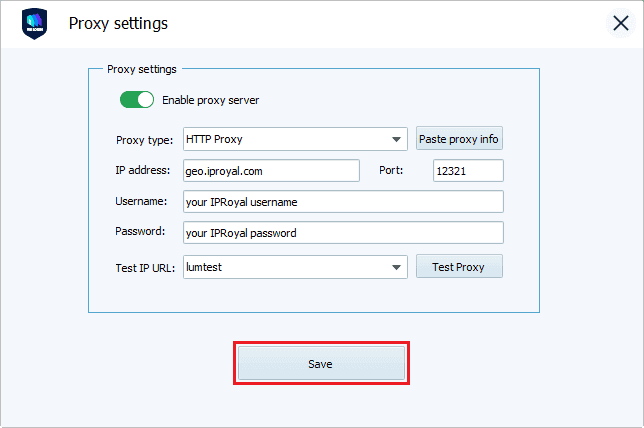
7. Once the proxy settings are complete, click “Test Proxy”. If the settings are correctly configured, a new window will show the proxy IP, country region, and other information. Then save the proxy settings.
8. After all the fingerprinting information for your browser profile has been configured, you need to click “Save profile”.

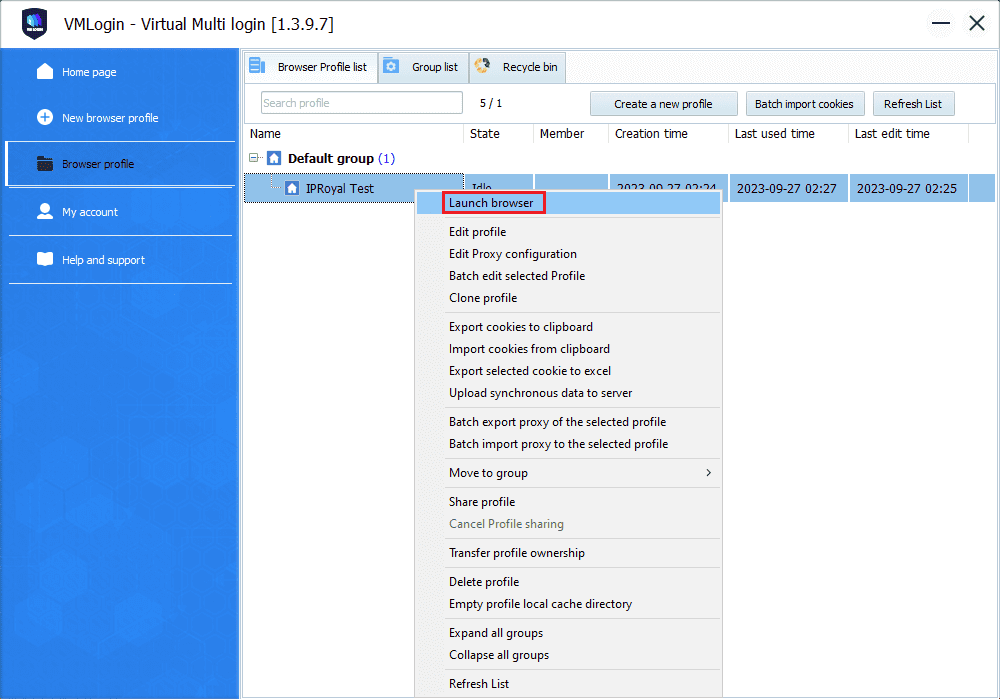
9. You will find your newly created browser in the browser list. Select the browser and right-click “Launch browser”.
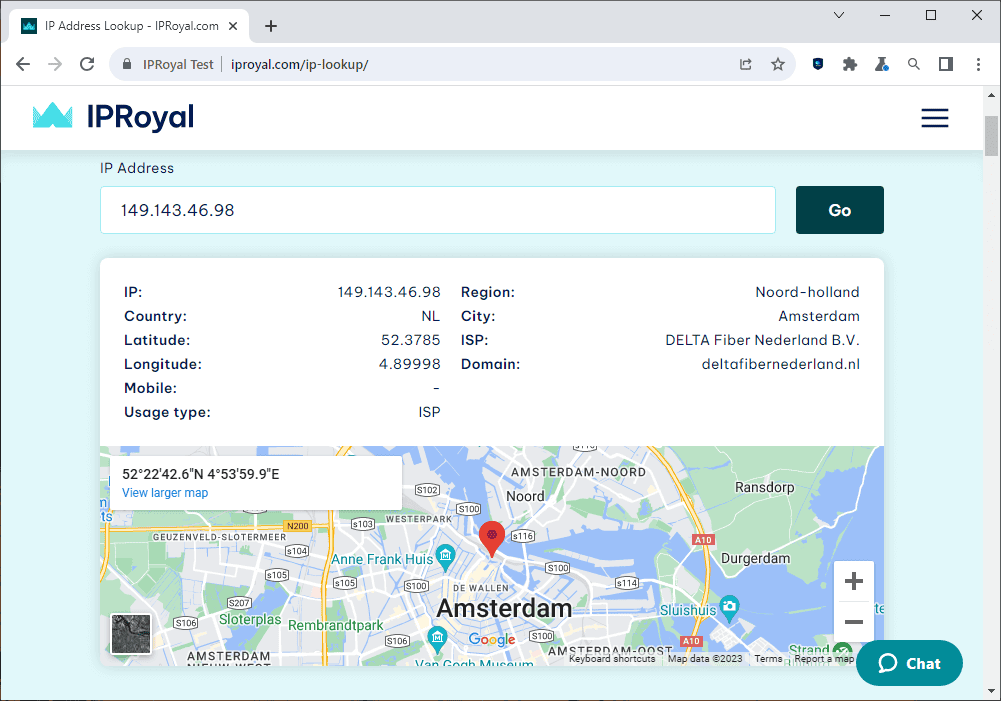
10. Finally, you can make sure your proxy is working by opening IPRoyal’s IP Address Lookup in your VMLogin browser. Now start your VMLogin journey!
Note: VMLogin browser software itself has no proxy IP service, users need to purchase proxy IP from a third party. Proxy-related tutorials are provided by third-party platforms and are not related to the VMLogin. Users are strictly prohibited from using VMLogin to engage in any illegal and criminal activities, and users are responsible for the relevant responsibilities caused by using VMLogin.