1. Open the NetNut website, newly register users can get 7 days free trial.
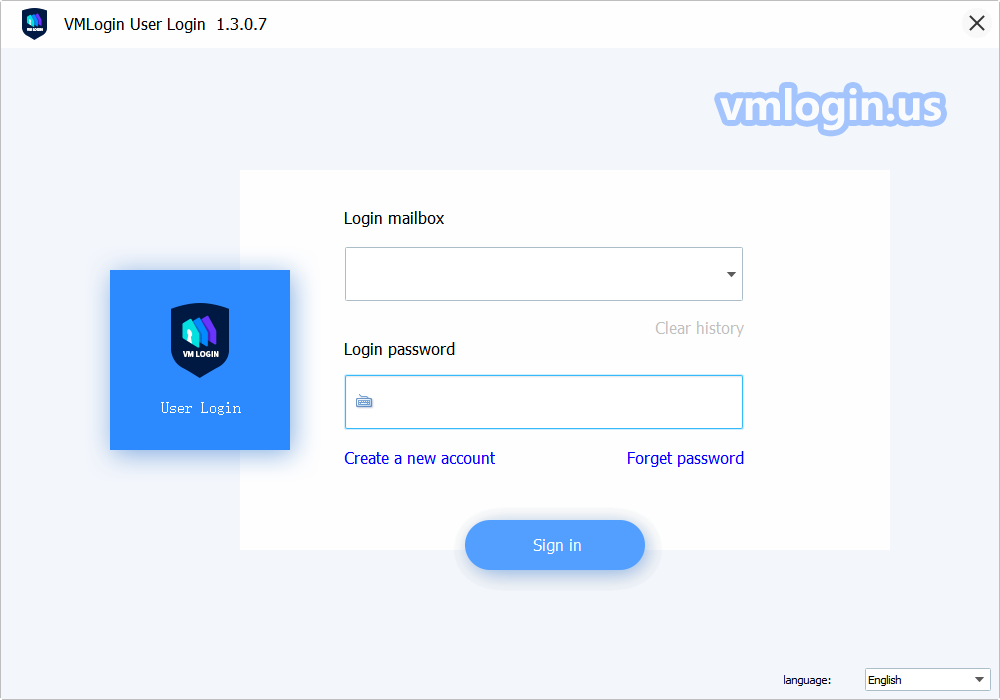
2. Sign up on the VMLogin website, newly register users can get 3 days free trial.
3. Download and install the VMLogin client.
4. Enter your VMLogin register email and password, log in to VMLogin.
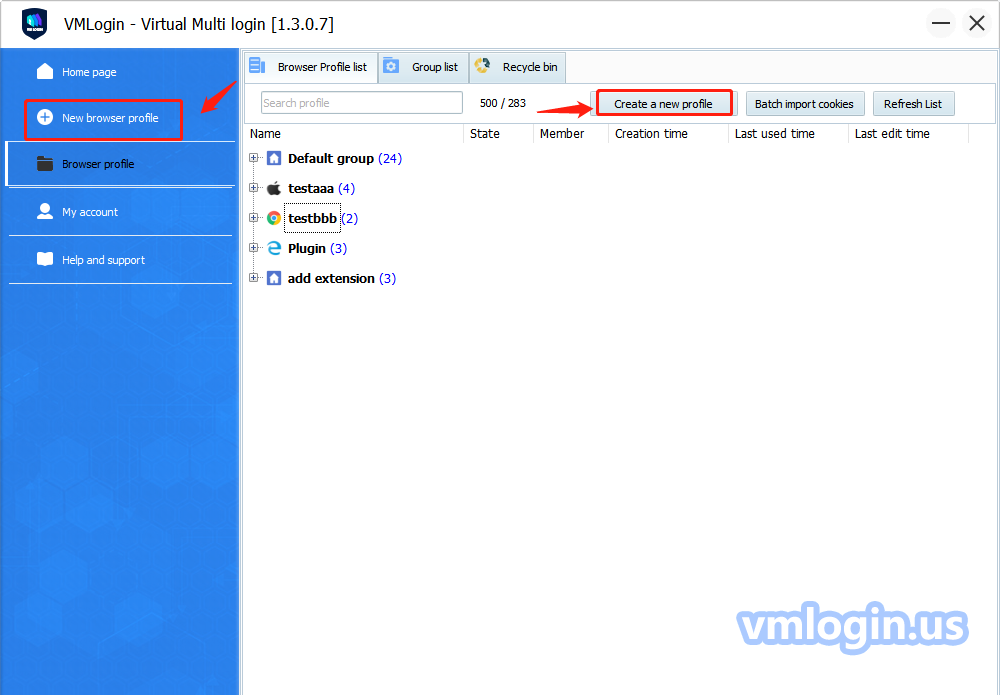
5. Select "New browser profile" or "Create a new profile" to create a new browser profile.
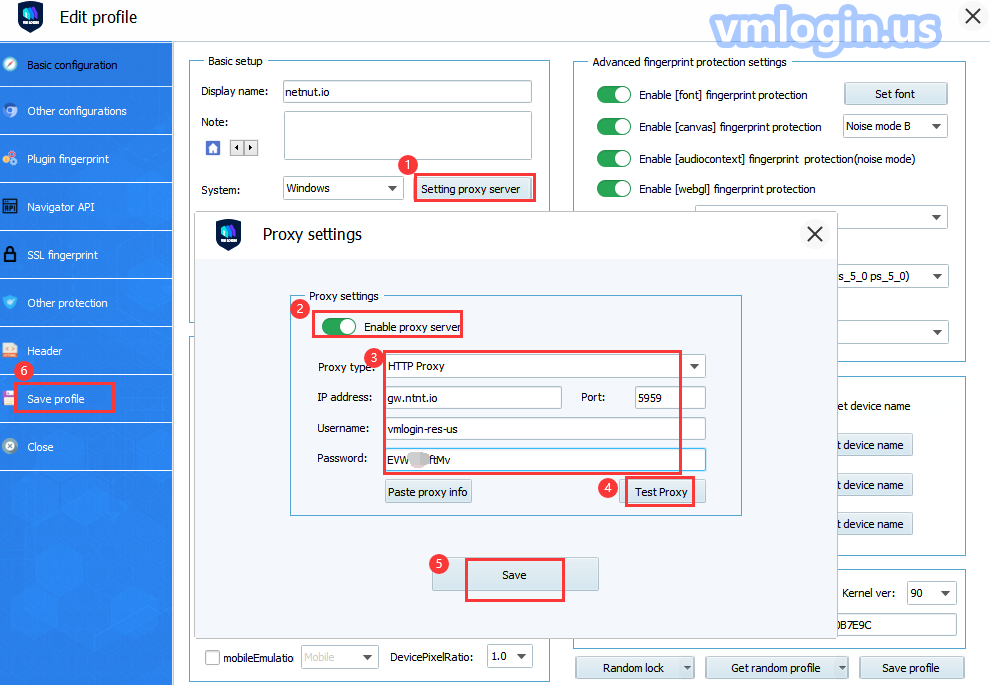
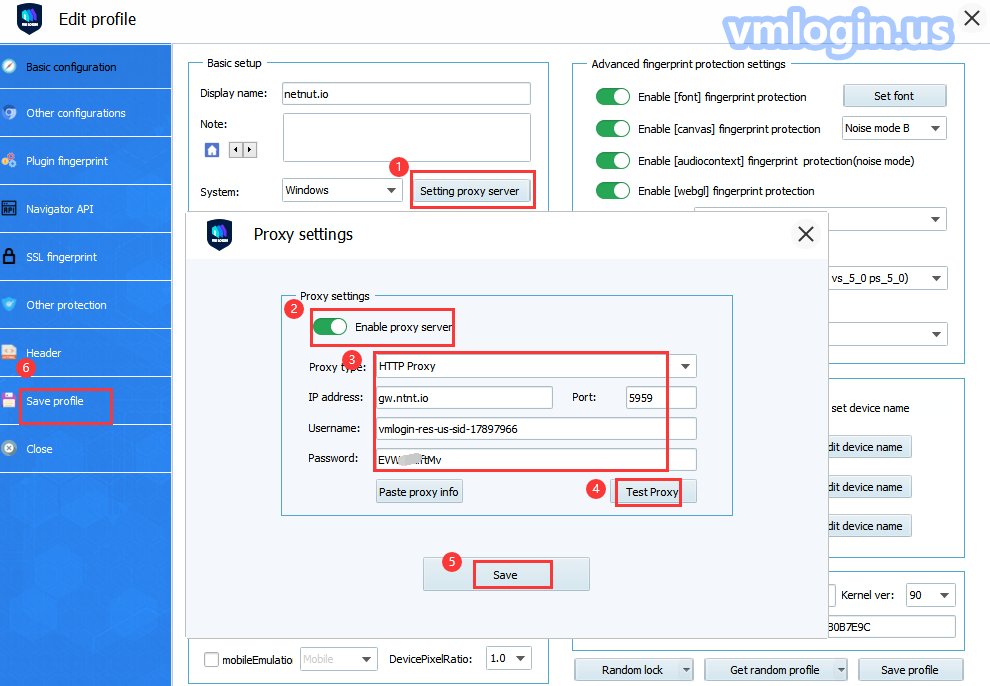
6. Basic configuration -> Setting proxy server -> Enable proxy server.
For rotating residential IPs type, fill in the credentials as follows:
Proxy type: HTTP
IP address: gw.ntnt.io
Port: 5959
Username: username-res-any
Password: password
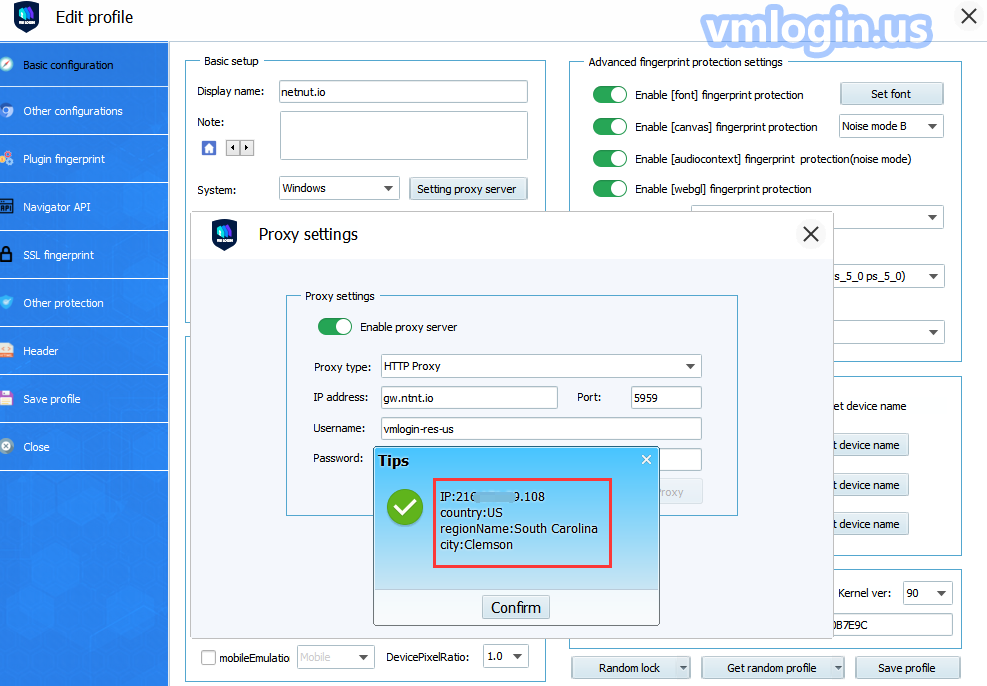
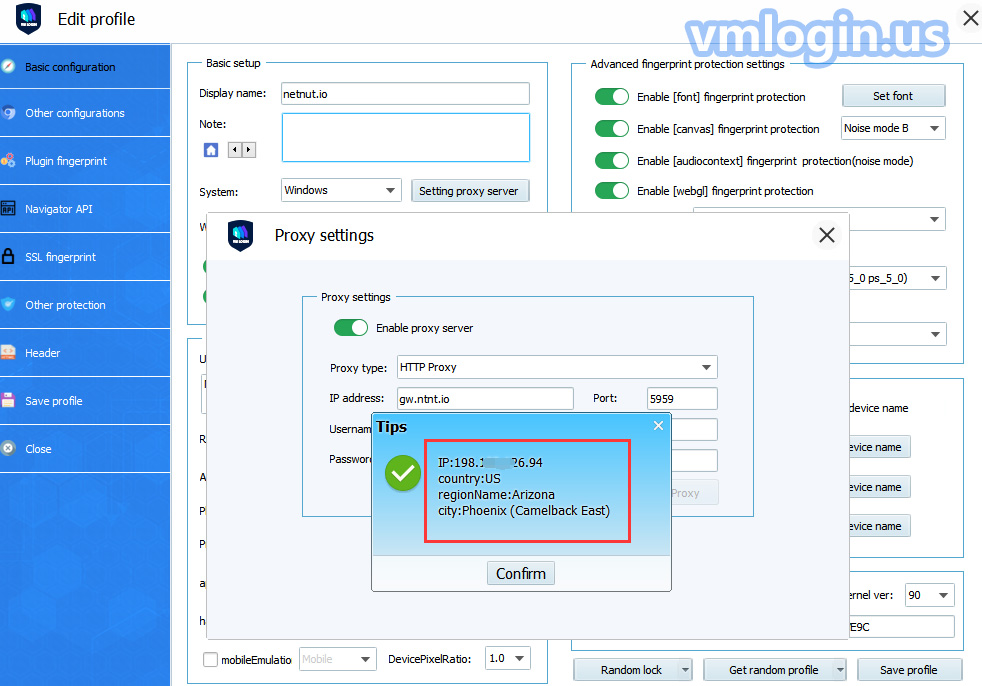
Click on the "Test Proxy" test link and save the settings
Note:
(1) Username should be your proxy login name. For “username-res-any” part, if you don’t need to select a special country, keep “any” unchanged, you don’t have to modify it;
(2) To target specific countries, you need to change the “any” part to the country code, for example: us; You can check other countries’ code here: https://l.netnut.io/countries
(3) Overall setting example: chenak-res-any: password, or: chenak-res-us: password;
For static residential IPs type, fill in the credentials as follows:
Proxy type: HTTP
IP address: gw.ntnt.io
Port: 5959
Username: username-stc-any-sid-8 digits
Password: password
Click on "Test Proxy" test link to check whether this proxy works, and save the settings.
VMLogin browser software itself has no proxy IP service, users need to purchase proxy IP from a third party. Proxy-related tutorials are provided by third-party platforms and are not related to the VMLogin. Users are strictly prohibited from using VMLogin to engage in any illegal and criminal activities, and users are responsible for the relevant responsibilities caused by using VMLogin.