Step 1 – Get Your Proxy Credentials
1. Log in to your NodeMaven Dashboard.
2. In the Proxy Setup > Select the proxy type you need:
- Residential / Mobile: recommended for account management, ads, and social media.
For both you can select options:
- Static: recommended for consistent logins and long-term sessions.
- Rotating: recommended for scraping and bulk checks.
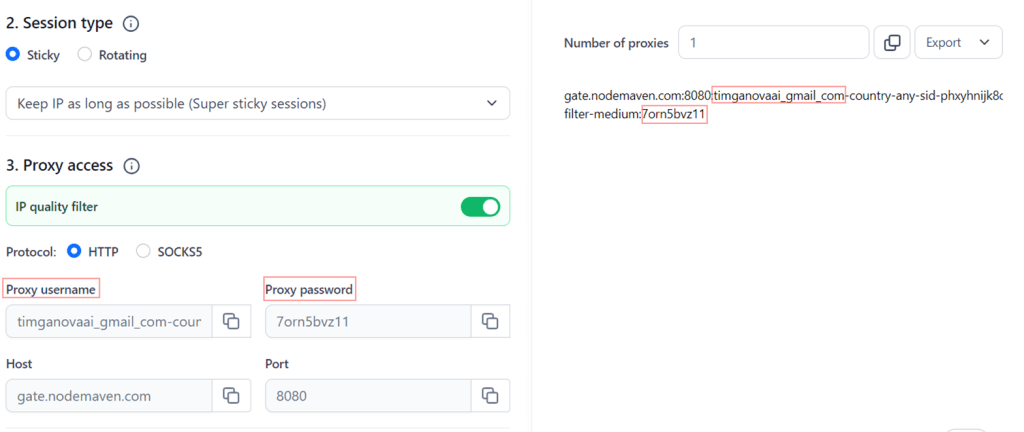
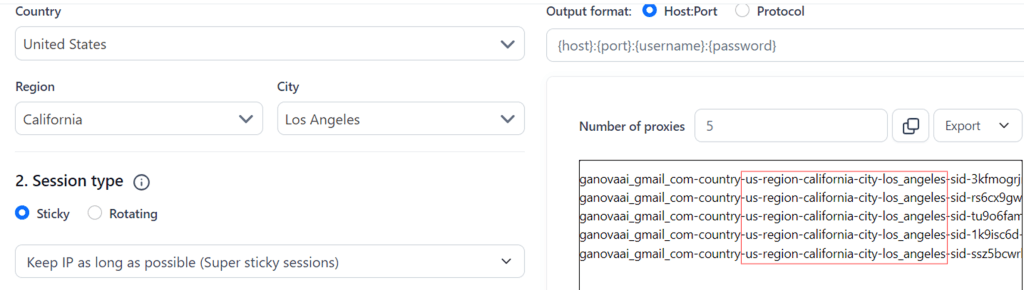
3. Choose a targeting location or leave it as 'Random' for a random proxy location.
Note: Selecting a specific location will update your username in the proxy list accordingly.
4. Set the output format:
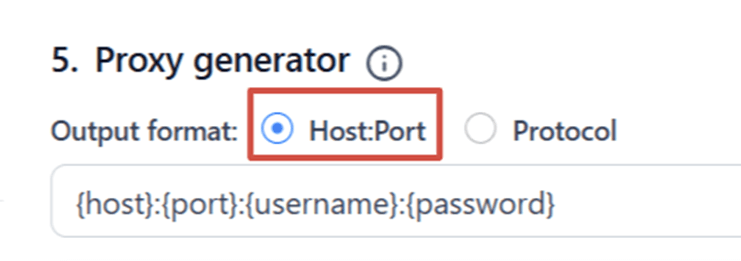
5. Copy the proxy details in the following format:
http://username:[email protected]:10000
Bonus Point: Use Code VMLOGIN35 and get a 35% discount
Step 2 – Add Proxy to VMLogin
- Download and install VMLogin (Support 3-day Free Trial).
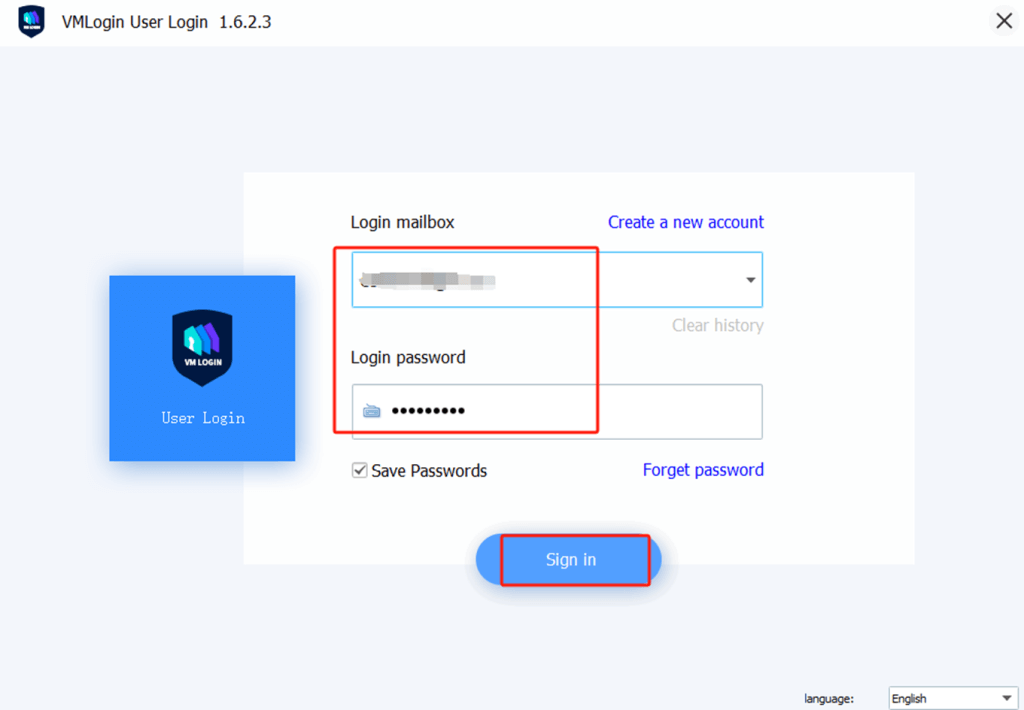
- Launch the VMLogin client and log in to your account.
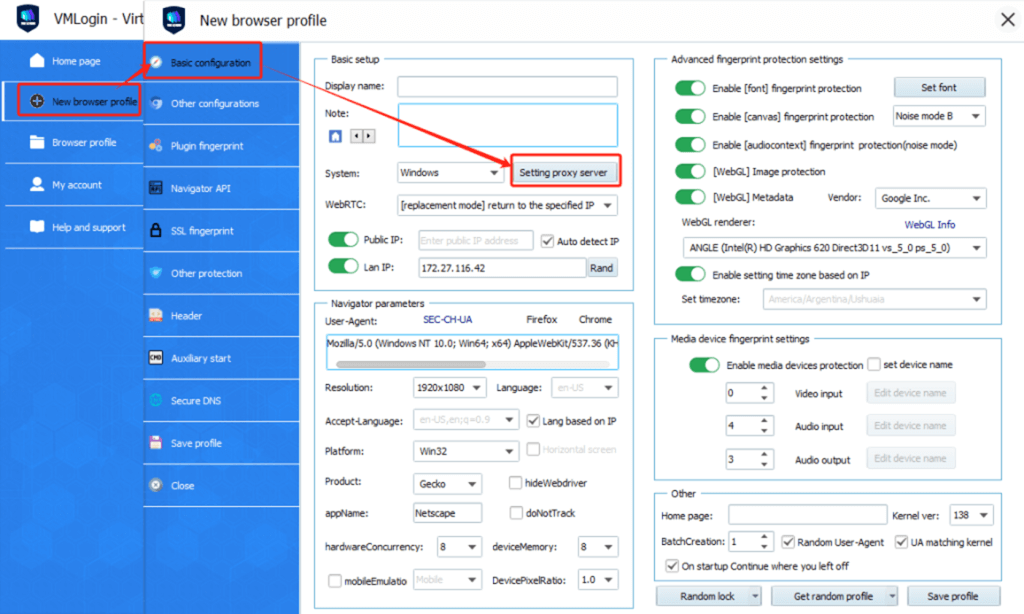
3. Create a New Browser Profile and Set the Proxy IP.
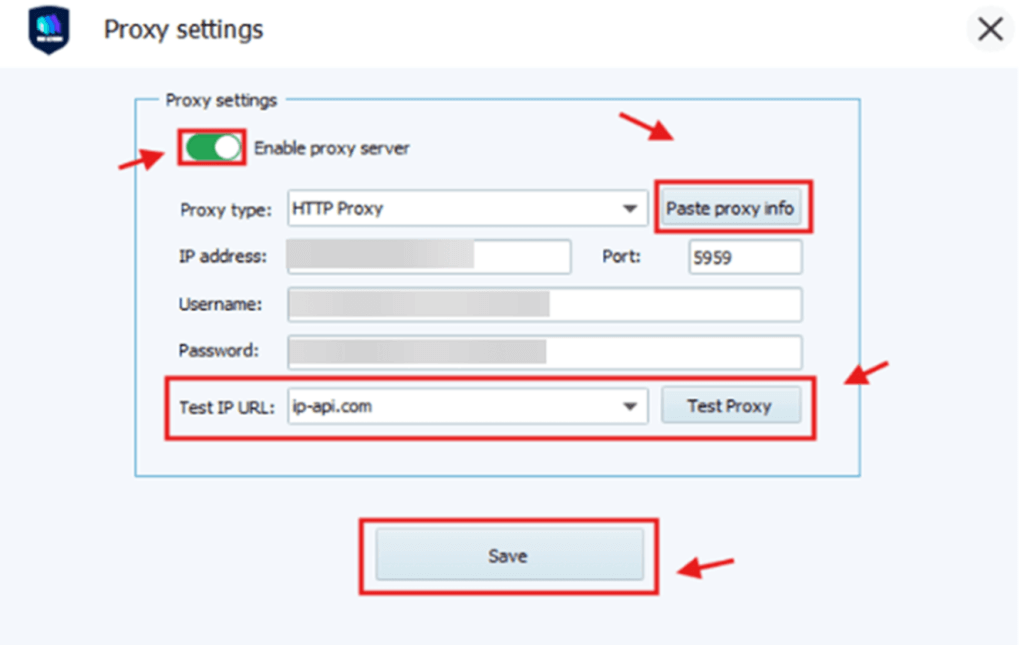
4. Paste Proxy in VMLogin and Test
- First, toggle Enable the proxy server to ON.
- Then, click "Paste proxy info" – VMLogin will automatically fill in the IP, port, username, and password.
- In the Test IP URL field, enter `ip-api.com`.
- Click Test Proxy to verify the connection.
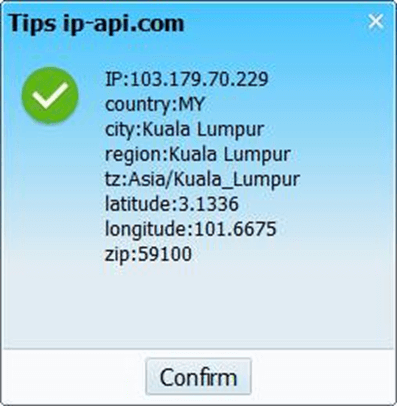
5. If the proxy is set up correctly, you’ll see a success message with the new IP and location. Click "Confirm" and then "Save" to store the settings.
6. Save the Profile.
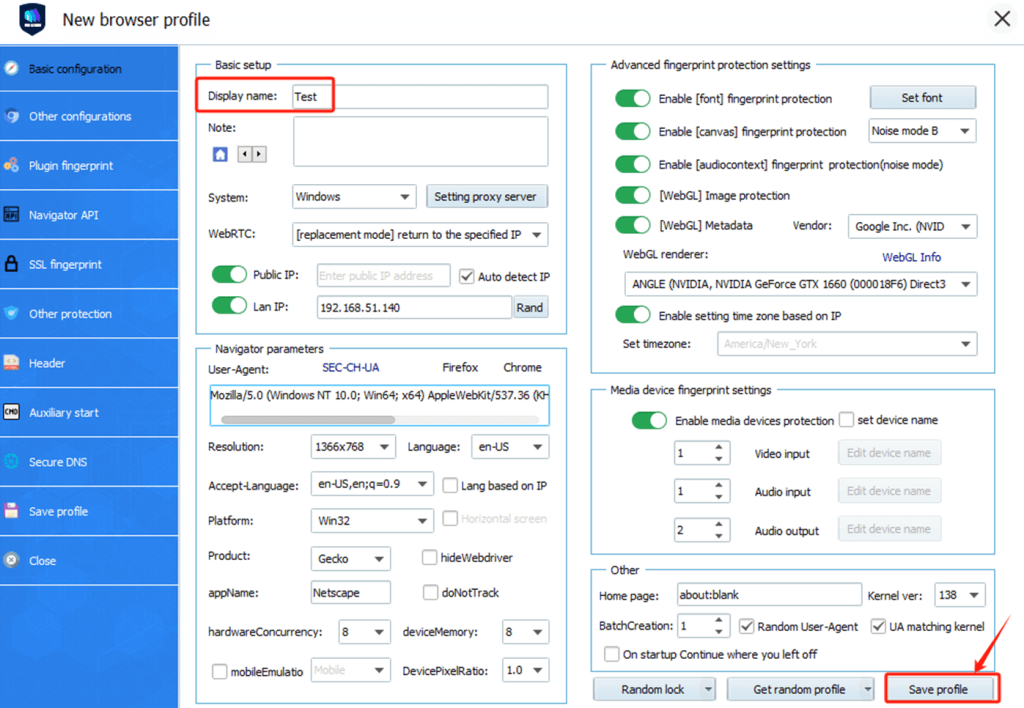
Your new profile with proxy integration is now ready.
7. Launch the Profile.
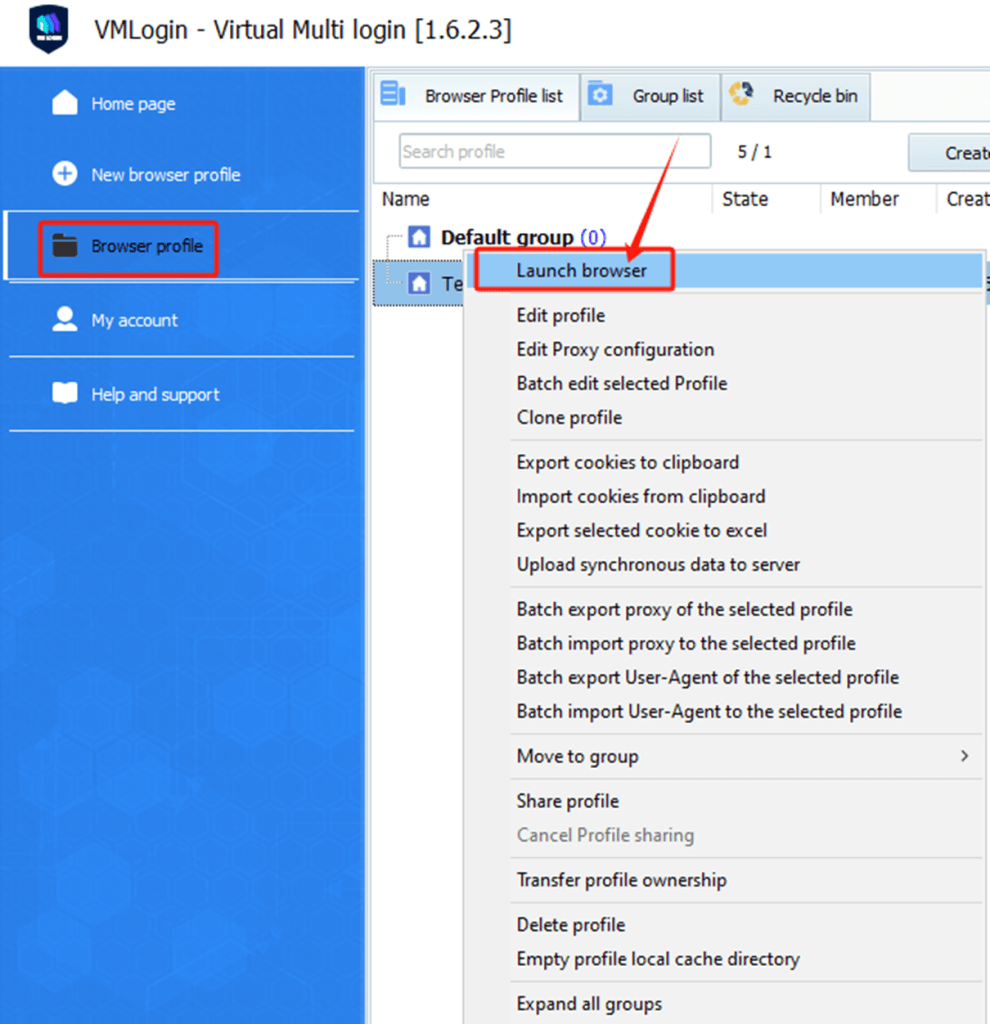
This will launch a new browser instance using the custom fingerprint and proxy you’ve set.
Note: VMLogin browser software itself has no proxy IP service, users need to purchase proxy IP from a third party. Proxy-related tutorials are provided by third-party platforms and unrelated to the VMLogin. Users are strictly prohibited from using VMLogin to engage in any illegal and criminal activities, and users are responsible for the relevant responsibilities caused by using VMLogin.