1. Register/login to your ProxyWing account.
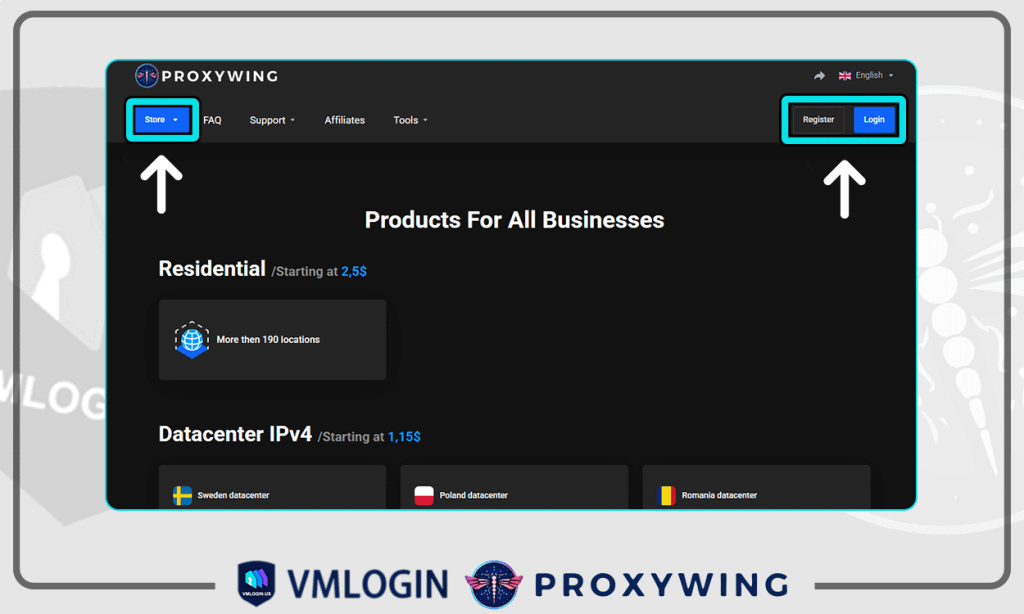
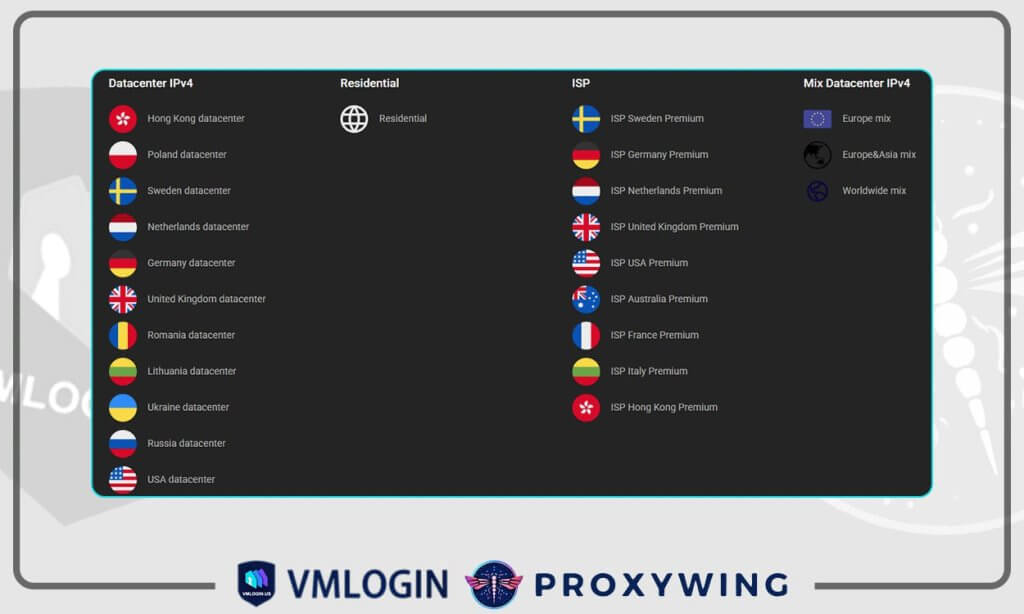
2. Click on «Store», select the required proxy type (residential, datacenter, or ISP) and add it to the shopping cart. After payment, the necessary proxies will immediately appear in your dashboad.
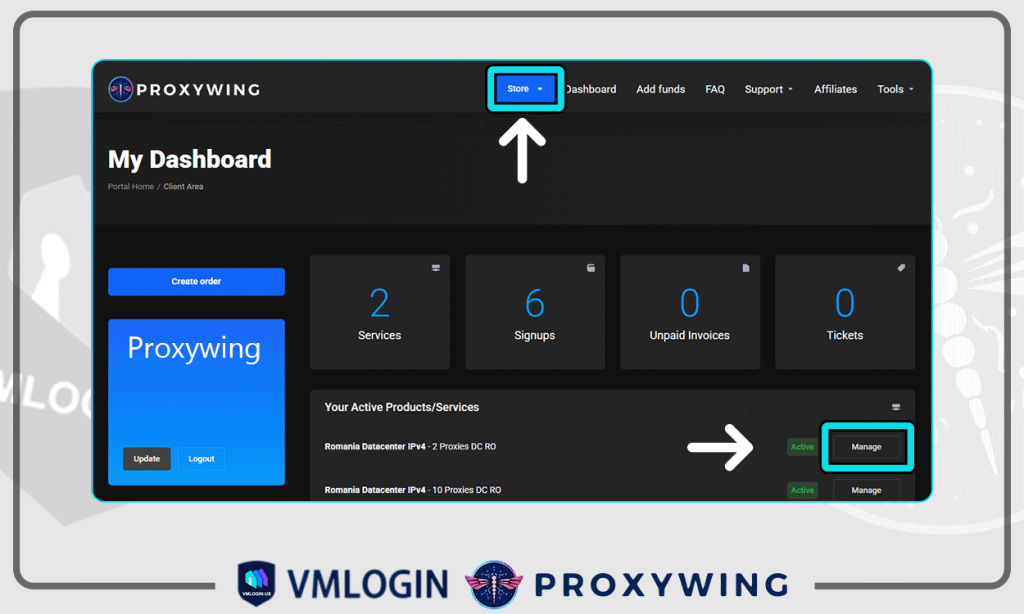
3. Open your dashboard, select a product, and click «Manage»
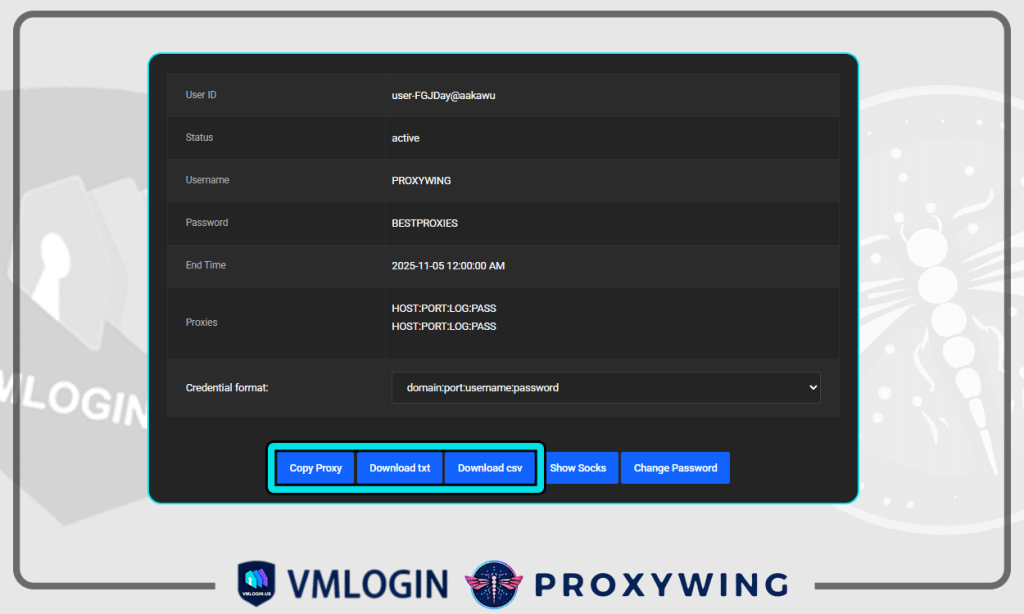
4. Copy or download the proxy using the buttons at the bottom. HOST:PORT:LOG:PASS — this is the proxy format used on the ProxyWing website.
Configuring ProxyWing Proxy in VMLogin
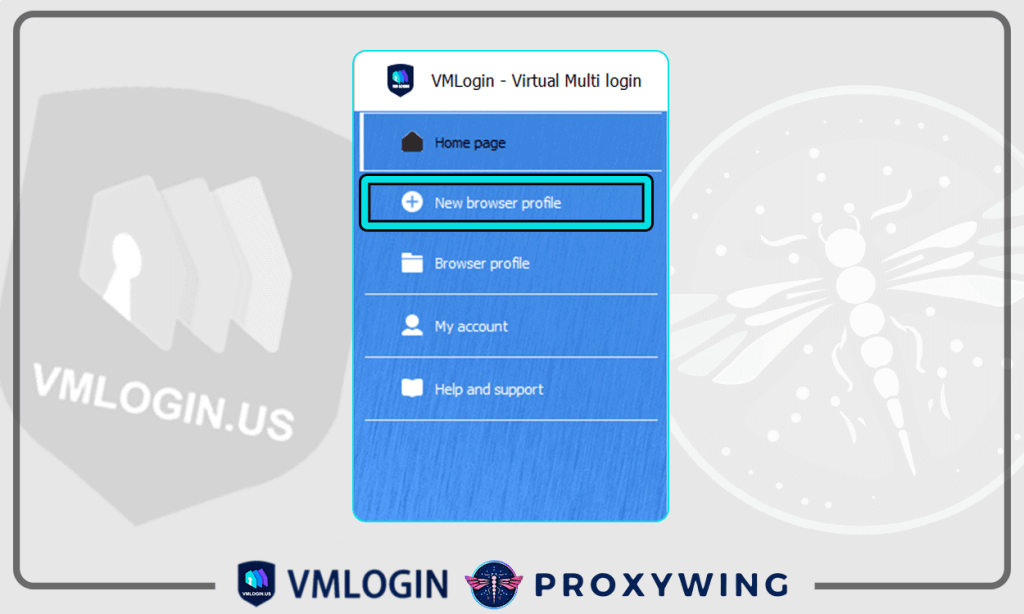
1. Launch VMLogin, click on «New browser profile» in the menu on the left. (Free trial supported)
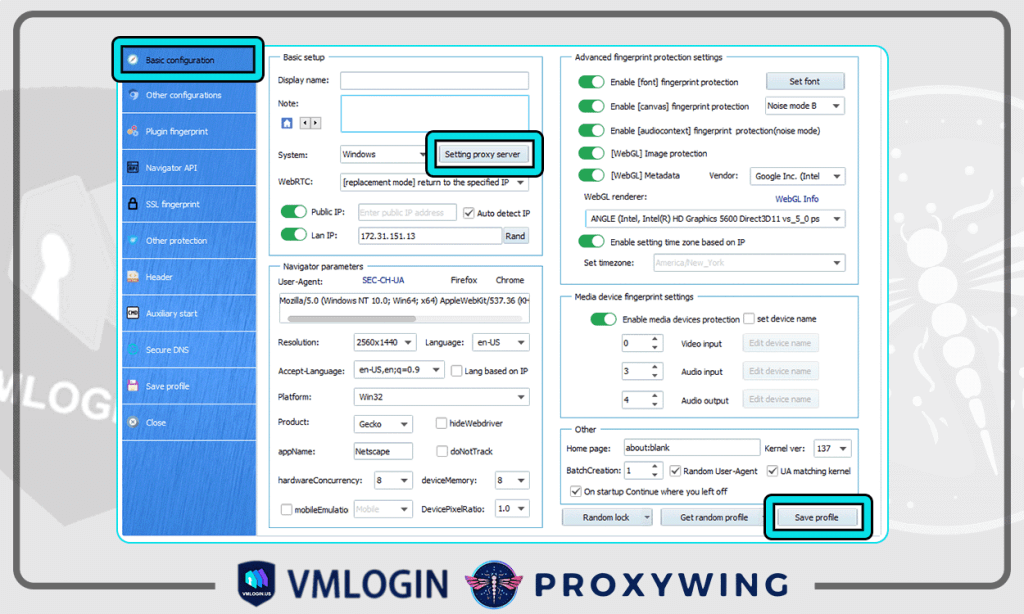
2. Click on «Basic configuration» in the menu on the left. Choose «Setting proxy server»
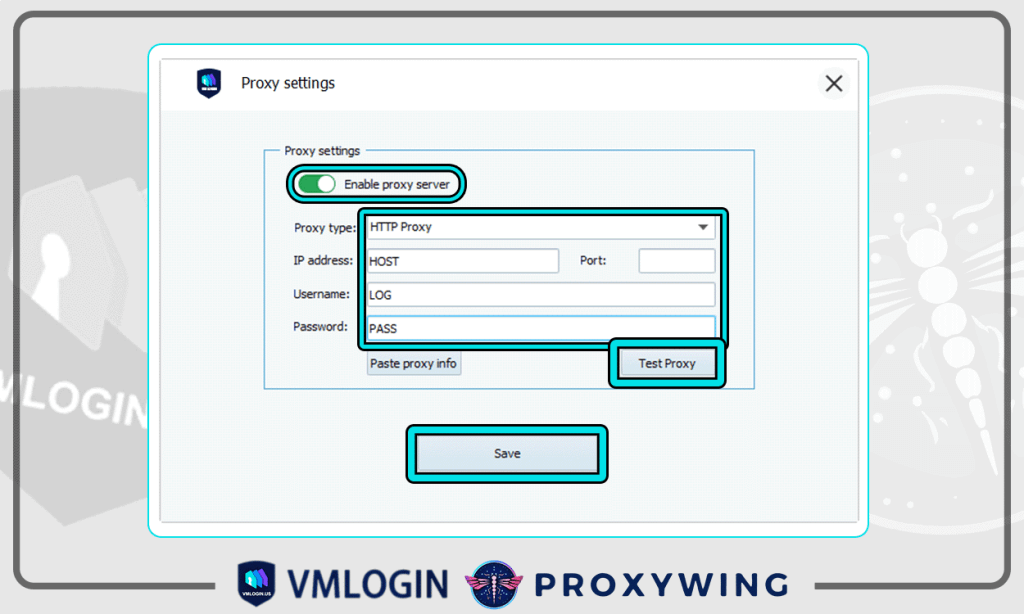
3. Click «Enable proxy sever». Select the Proxy type and copy the information from the ProxyWingdashboard (proxy IP, proxy port, proxy username, and proxy password) into the appropriate fields.
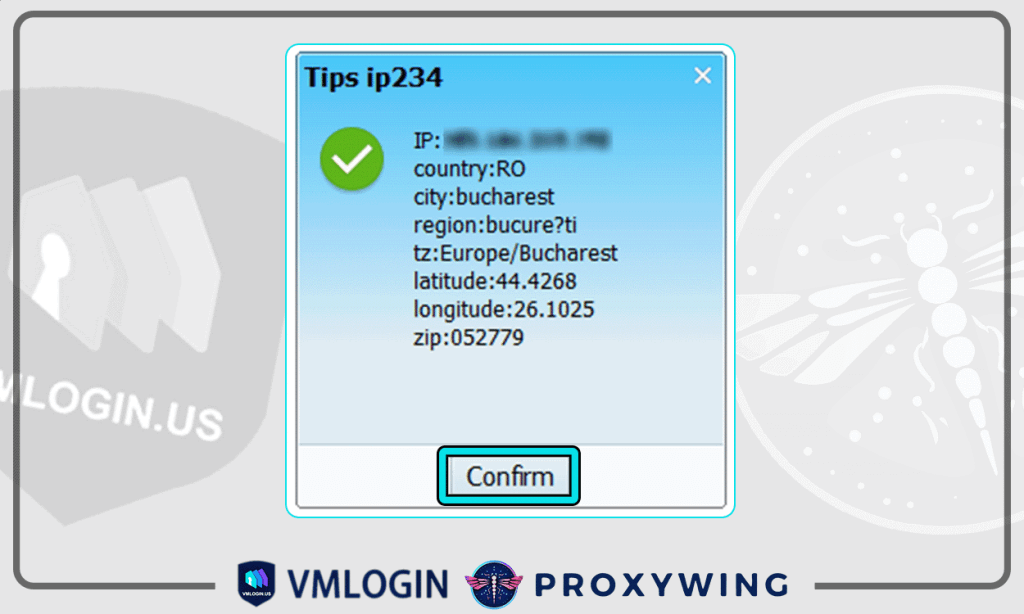
4. Click the «Test Proxy » button. VMLogin will confirm the test was successful and display the proxy’s IP address, location, and time zone. Click «Confirm» and «Save» to save your proxy.
Note: VMLogin browser software itself has no proxy IP service, users need to purchase proxy IP from a third party. Proxy-related tutorials are provided by third-party platforms and unrelated to the VMLogin. Users are strictly prohibited from using VMLogin to engage in any illegal and criminal activities, and users are responsible for the relevant responsibilities caused by using VMLogin.