Step 1: Locating Your Proxy Details
1. Log into your Anonymous Proxies account.
2. Navigate to the section where your proxy details are listed, which could be under sections like Dedicated Proxies or Shared Proxies, depending on what you have purchased.
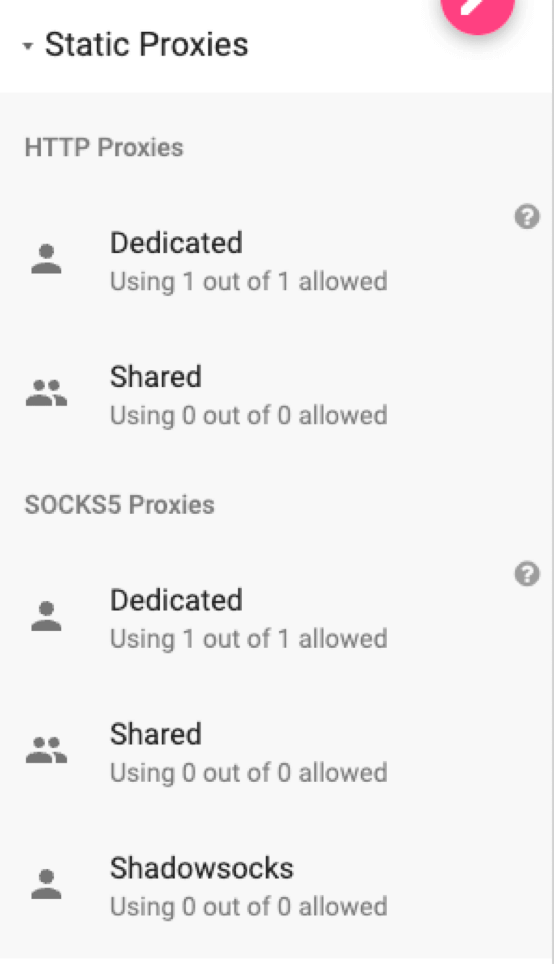
3. This will send you to the list of available proxies to purchase. To access your proxies, click on the button in the upper-right corner of the table labeled My Dedicated Proxies or My Dedicated SOCKS.

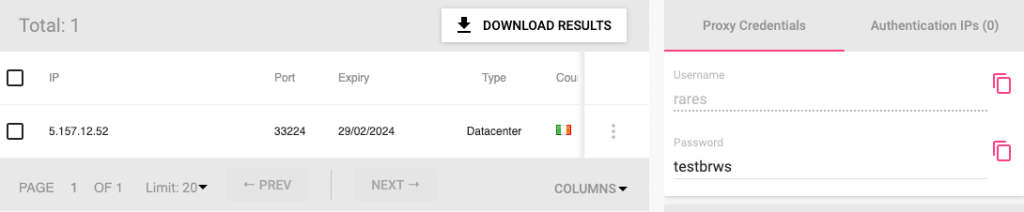
After navigating to your proxies, you'll be presented with a detailed view. In the main table, you'll find the IPs and ports for your proxies. On the right sidebar, the Proxy Credentials section displays your username and password.
Step 2: Setting Up Proxies in VMLogin
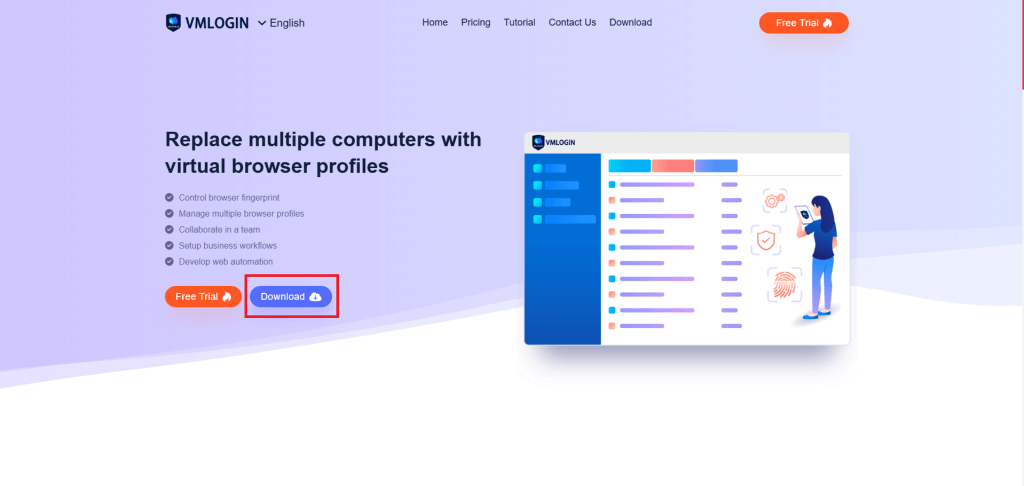
1. Download and install VMLogin (Support 3-day Free Trial).
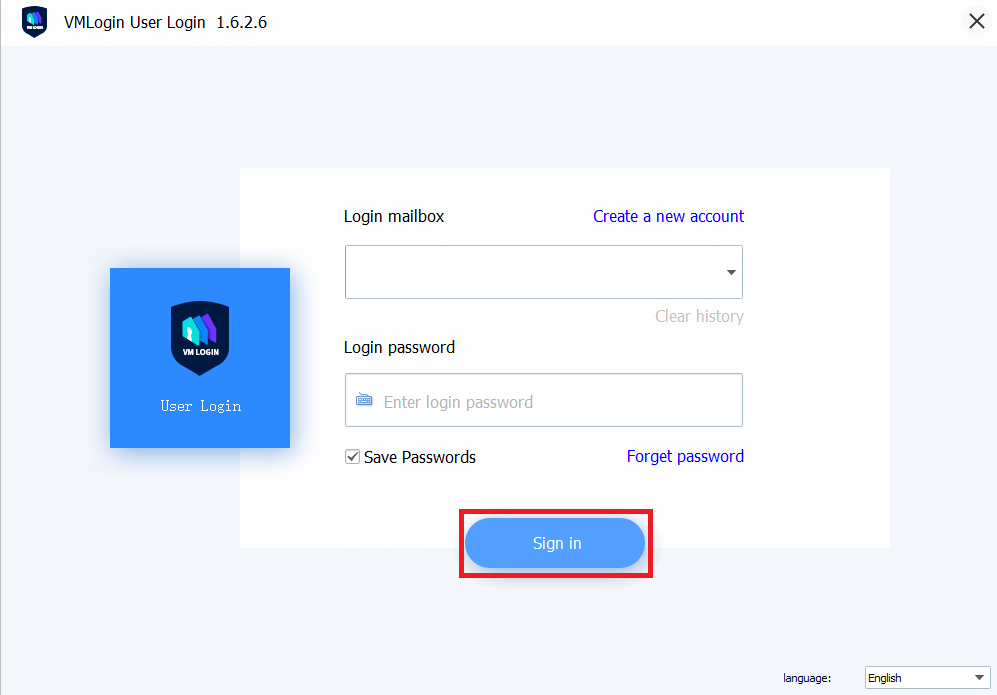
2. Launch the VMLogin client and sign in to your account.
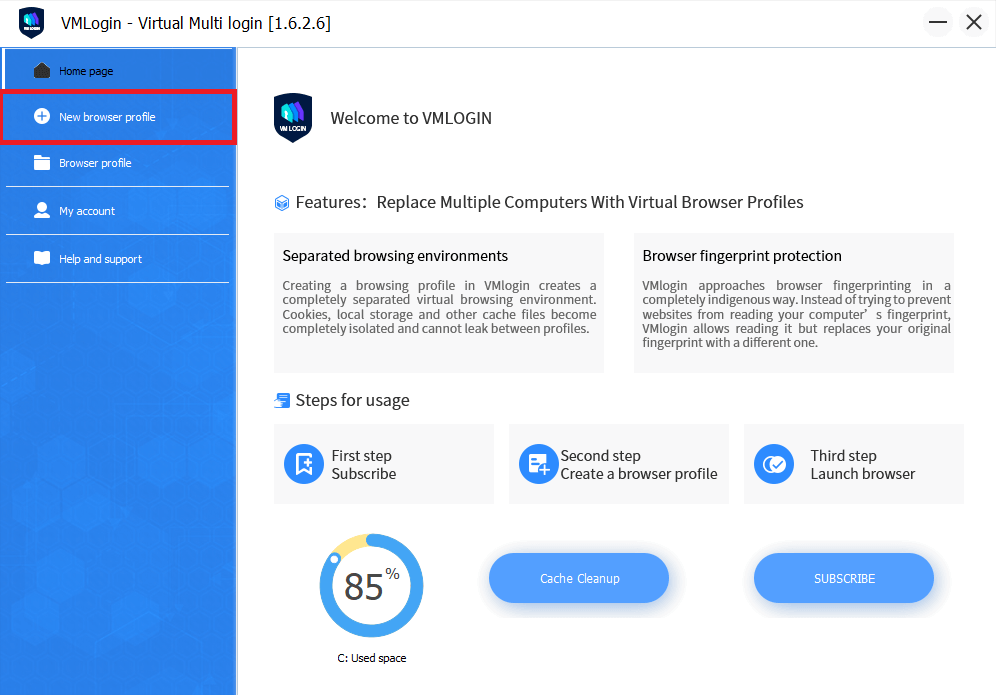
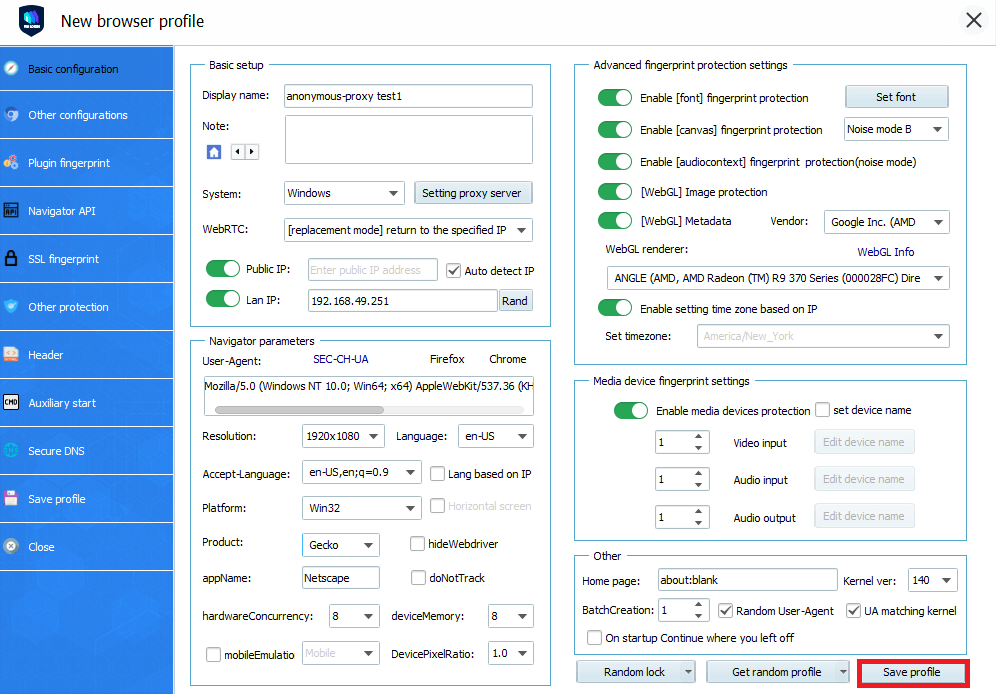
3. Click on New browser profile to create a new profile.
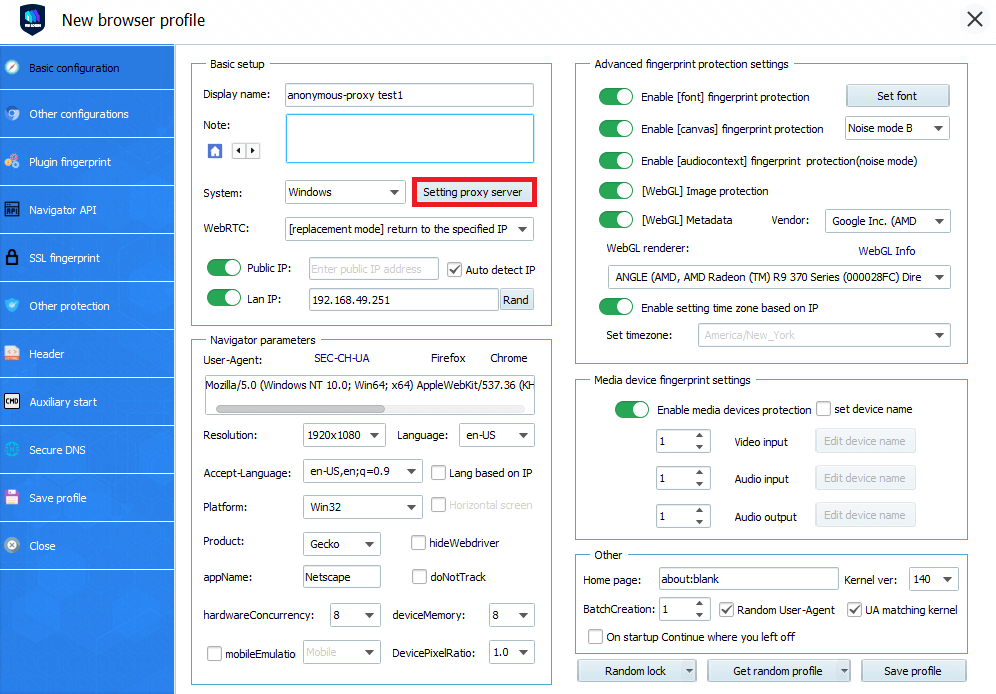
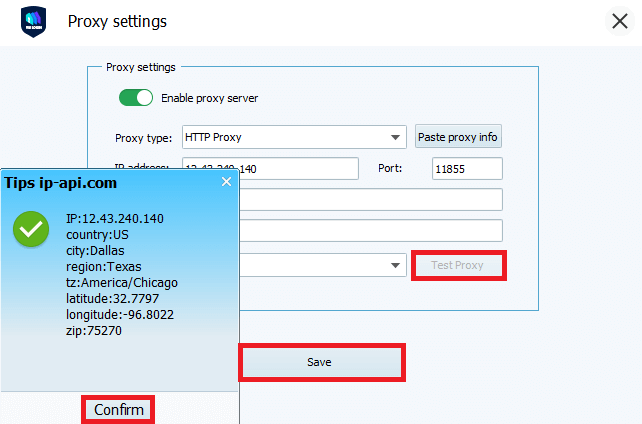
4. Open the proxy settings in the Profile.
5. Enter your Anonymous Proxies details (IP:Port:Username:Password).
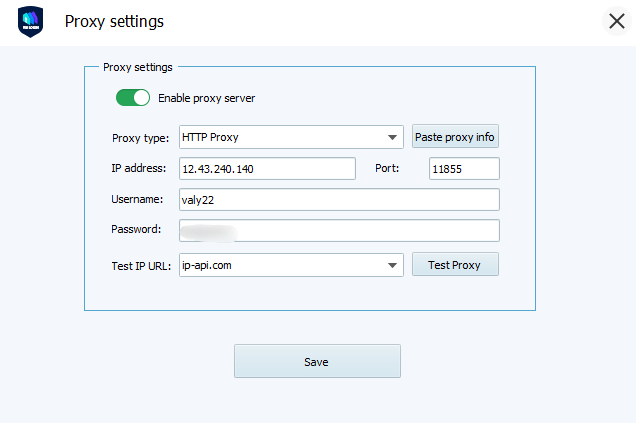
6. Click “Test Proxy” to confirm that your proxy is working fine and then hit Save.
7. Save the profile and launch the browser.
Note: VMLogin browser software itself has no proxy IP service, users need to purchase proxy IP from a third party. Proxy-related tutorials are provided by third-party platforms and unrelated to the VMLogin. Users are strictly prohibited from using VMLogin to engage in any illegal and criminal activities, and users are responsible for the relevant responsibilities caused by using VMLogin.