1. Download and install VMLogin. (3 Days Free Trial)
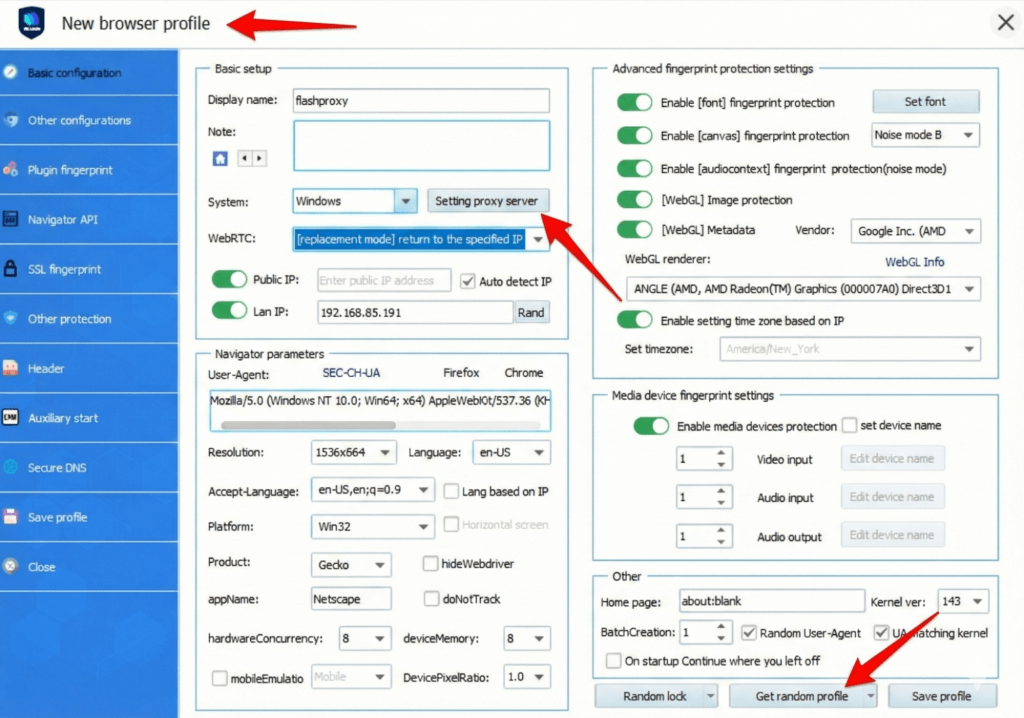
2. Start by launching VMLogin and creating a new browser profile:
(1) Click "Get random profile."
(2) Select the settings that best suit you, such as operating system, screen resolution, language, WebGL vendor, time zone, media device fingerprint, etc.
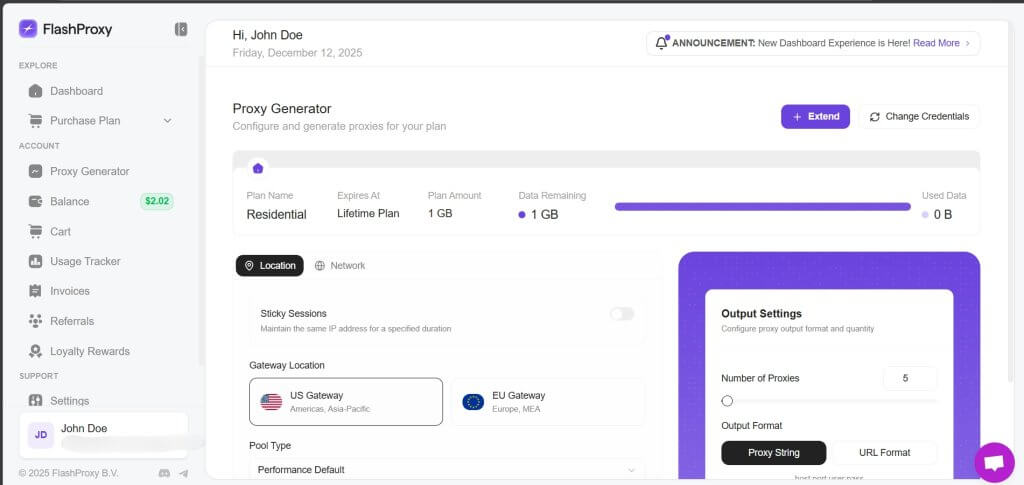
3. Choose your FlashProxy Plan. Log in to the FlashProxyV2 dashboard and click on Purchase Plan in the left sidebar. Select the specific proxy type you require (e.g., Residential, Datacenter, Mobile, IPV6) from the menu, then choose the data plan that suits your needs.

4. Setting up the proxy server with your browser profile:
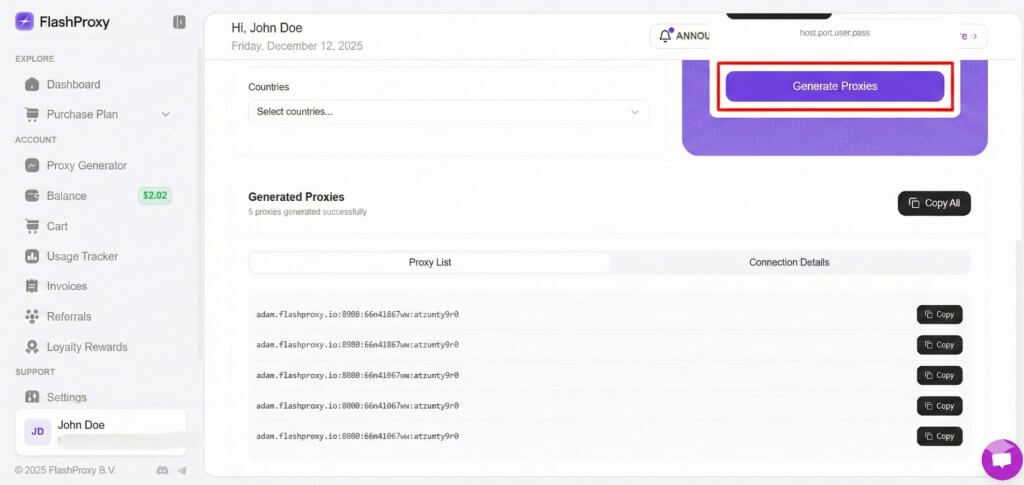
5. Start with FlashProxy. Log in to FlashProxy -> Proxy Generator -> Configure your settings (Location, Session type) -> Generate Proxies.
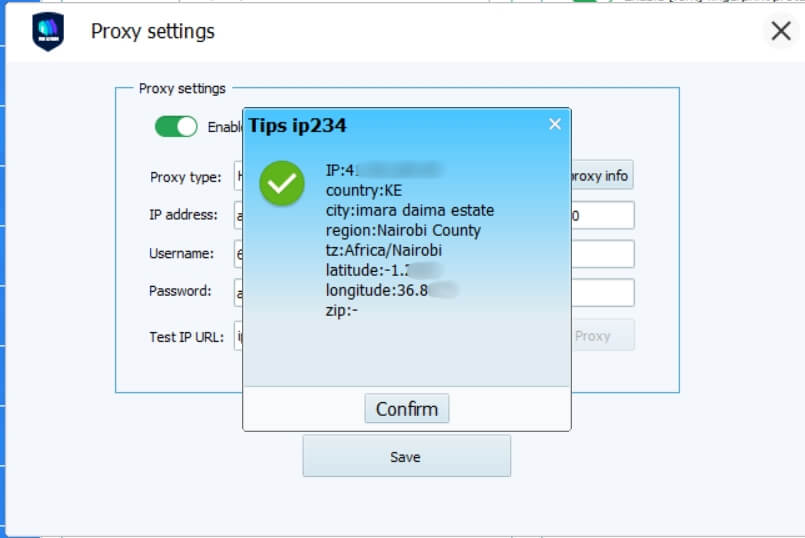
6. In the VMLogin Proxy settings, choose HTTP Proxy as the Connection type.
- Under IP address, enter adam.flashproxy.io (or the host provided in your dashboard).
- Fill in 8080 for Port.
- Finally, enter your login credentials under Username and Password as copied from your FlashProxy dashboard.
You can check if the proxy works by clicking “Test Proxy”. If the connection is successful (showing a green checkmark with IP details), click Save and then launch the browser.
VMLogin browser software itself has no proxy IP service; users need to purchase a proxy IP from a third party. Proxy-related tutorials are provided by third-party platforms and are not related to the VMLogin.
Users are strictly prohibited from using VMLogin to engage in any illegal and criminal activities, and users are responsible for the relevant responsibilities caused by using VMLogin.