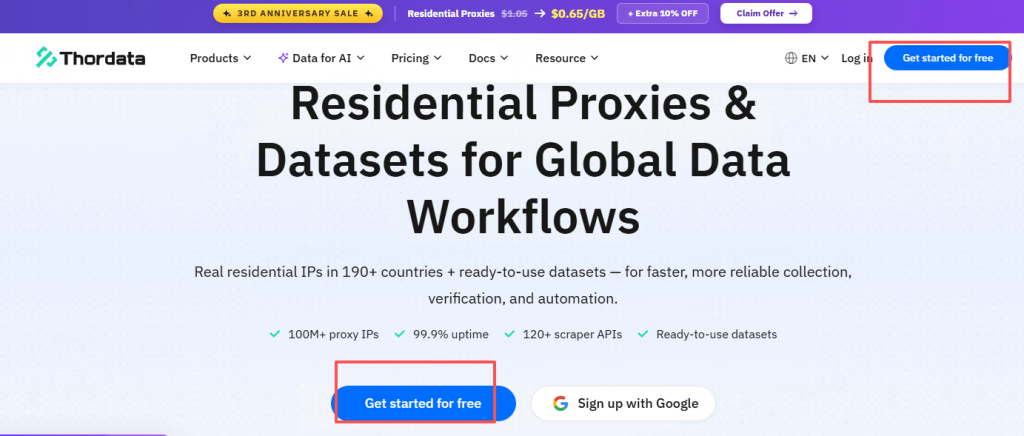
1. Go to the thordata.com website (if you register via this link, you can contact customer service to request a trial), click “Get Started” to register an account, and once registration is complete, and then log in to the “Dashboard.”
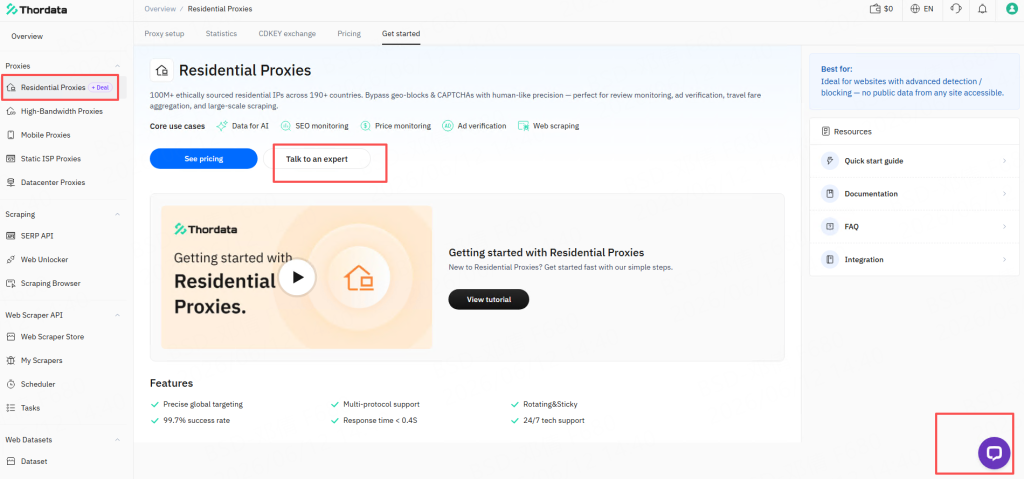
2. Contact customer service to claim a trial of Thordata rotating residential proxies.
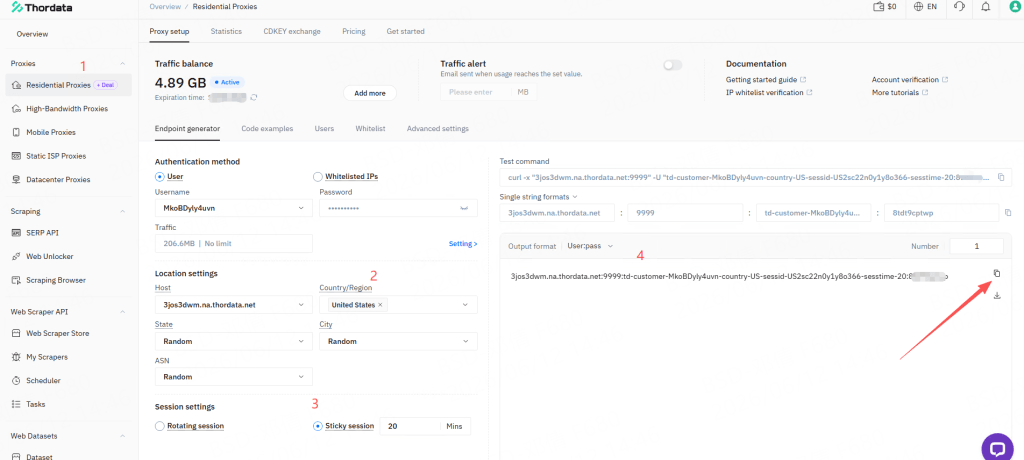
3.There are two ways to generate proxy IPs:
Proxy Settings:
(1) Click “Endpoint Generator.” This method will generate a user:pass pair or an HTTP link.
Location: Select country, state, city, and ASN (ASN is an optional parameter used to retrieve proxies from a preferred autonomous system).
Session:
① Rotation: Get a new IP for each request.
② Sticky Session: Keep the same IP for up to 90 minutes.
(2) Whitelist or Password: Please add your IP address to the whitelist first.
Setting Up the Proxy
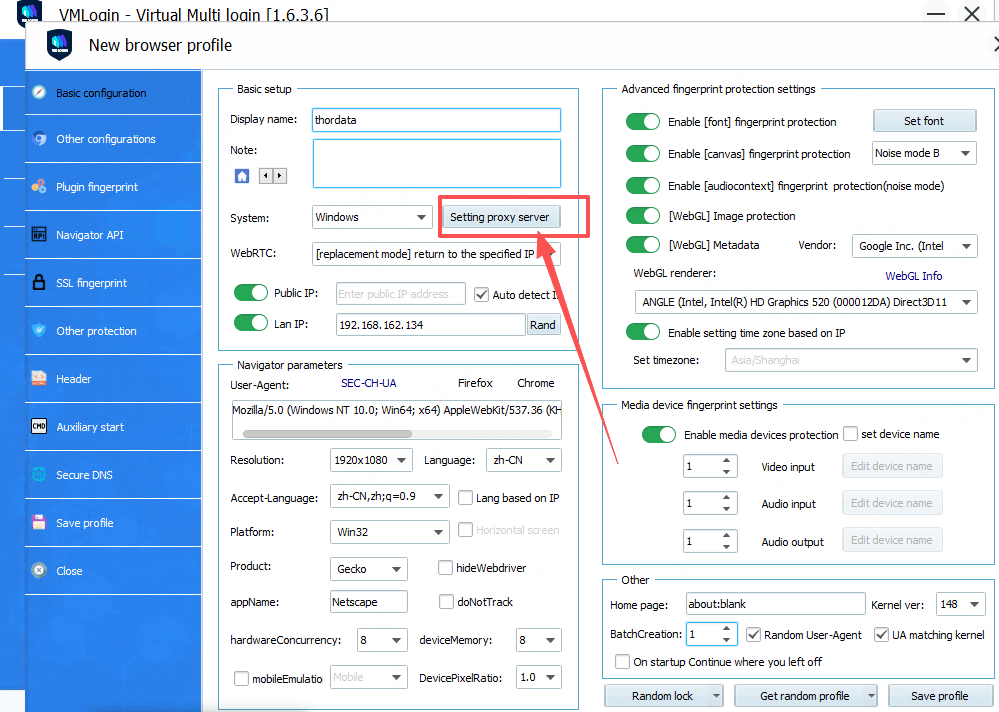
4. Open the VMLogin client, log in to your account, and on the homepage, click New Browser Profile. (Support 3-day Free Trial)
In the Basic Configuration interface, set a Display Name, then click Setting Proxy Server.
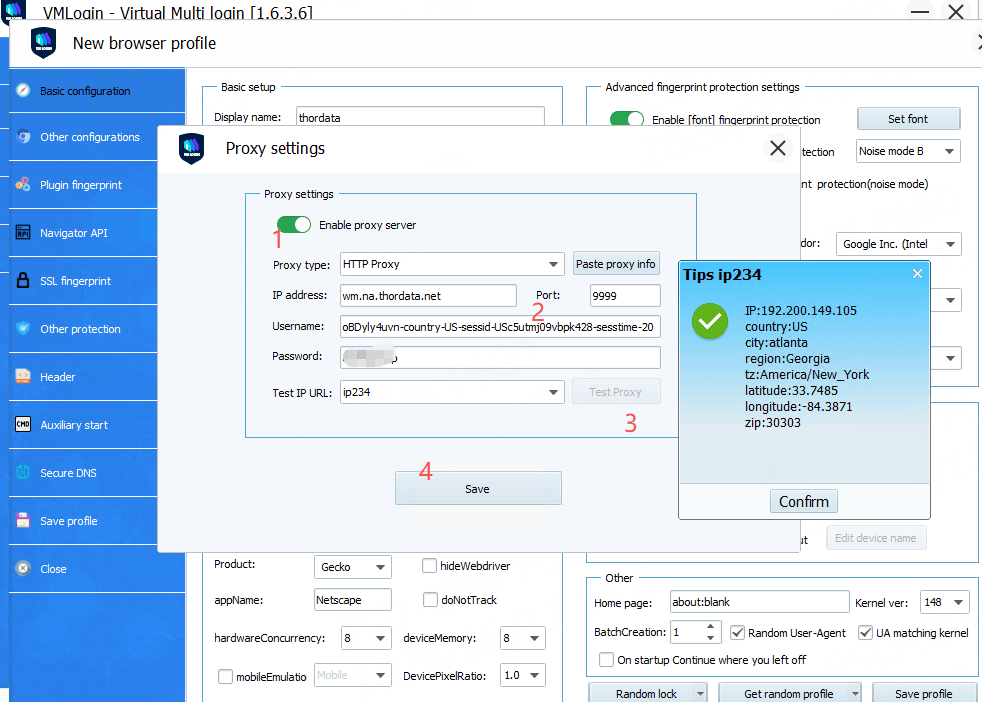
5. Select Enable Proxy Server. Choose the Proxy Type as needed. In the IP Address field below, paste the proxy information obtained from thordata. Click Paste Proxy Info – the information will auto-fill in the correct format. Click Test Proxy to verify the proxy works.
6. You can configure other parameters as needed. After clicking Save,
the browser profile for the thordata proxy will be integrated.
Save the new configuration profile and double-click it to launch the browser. You can now start using the VMLogin browser with the proxy configured.